VozNotas
approvedby Fernando Abellan
Talk to your notes by voice — a hands-free voice assistant that searches, reads and writes your vault. - This plugin has not been manually reviewed by Obsidian staff.
VozNotas
Talk to your Obsidian notes by voice. Voice-first — not a chat window with a mic button, but an assistant built for talking: you speak, it searches and reads your vault, and answers out loud. Powered by the OpenAI Realtime API.
I wanted to talk to my notes instead of typing at them — ask a question while pacing around, have something read back, dictate without touching the keyboard. So I built it.
"voz-notas" is Spanish for "voice-notes".
What it does
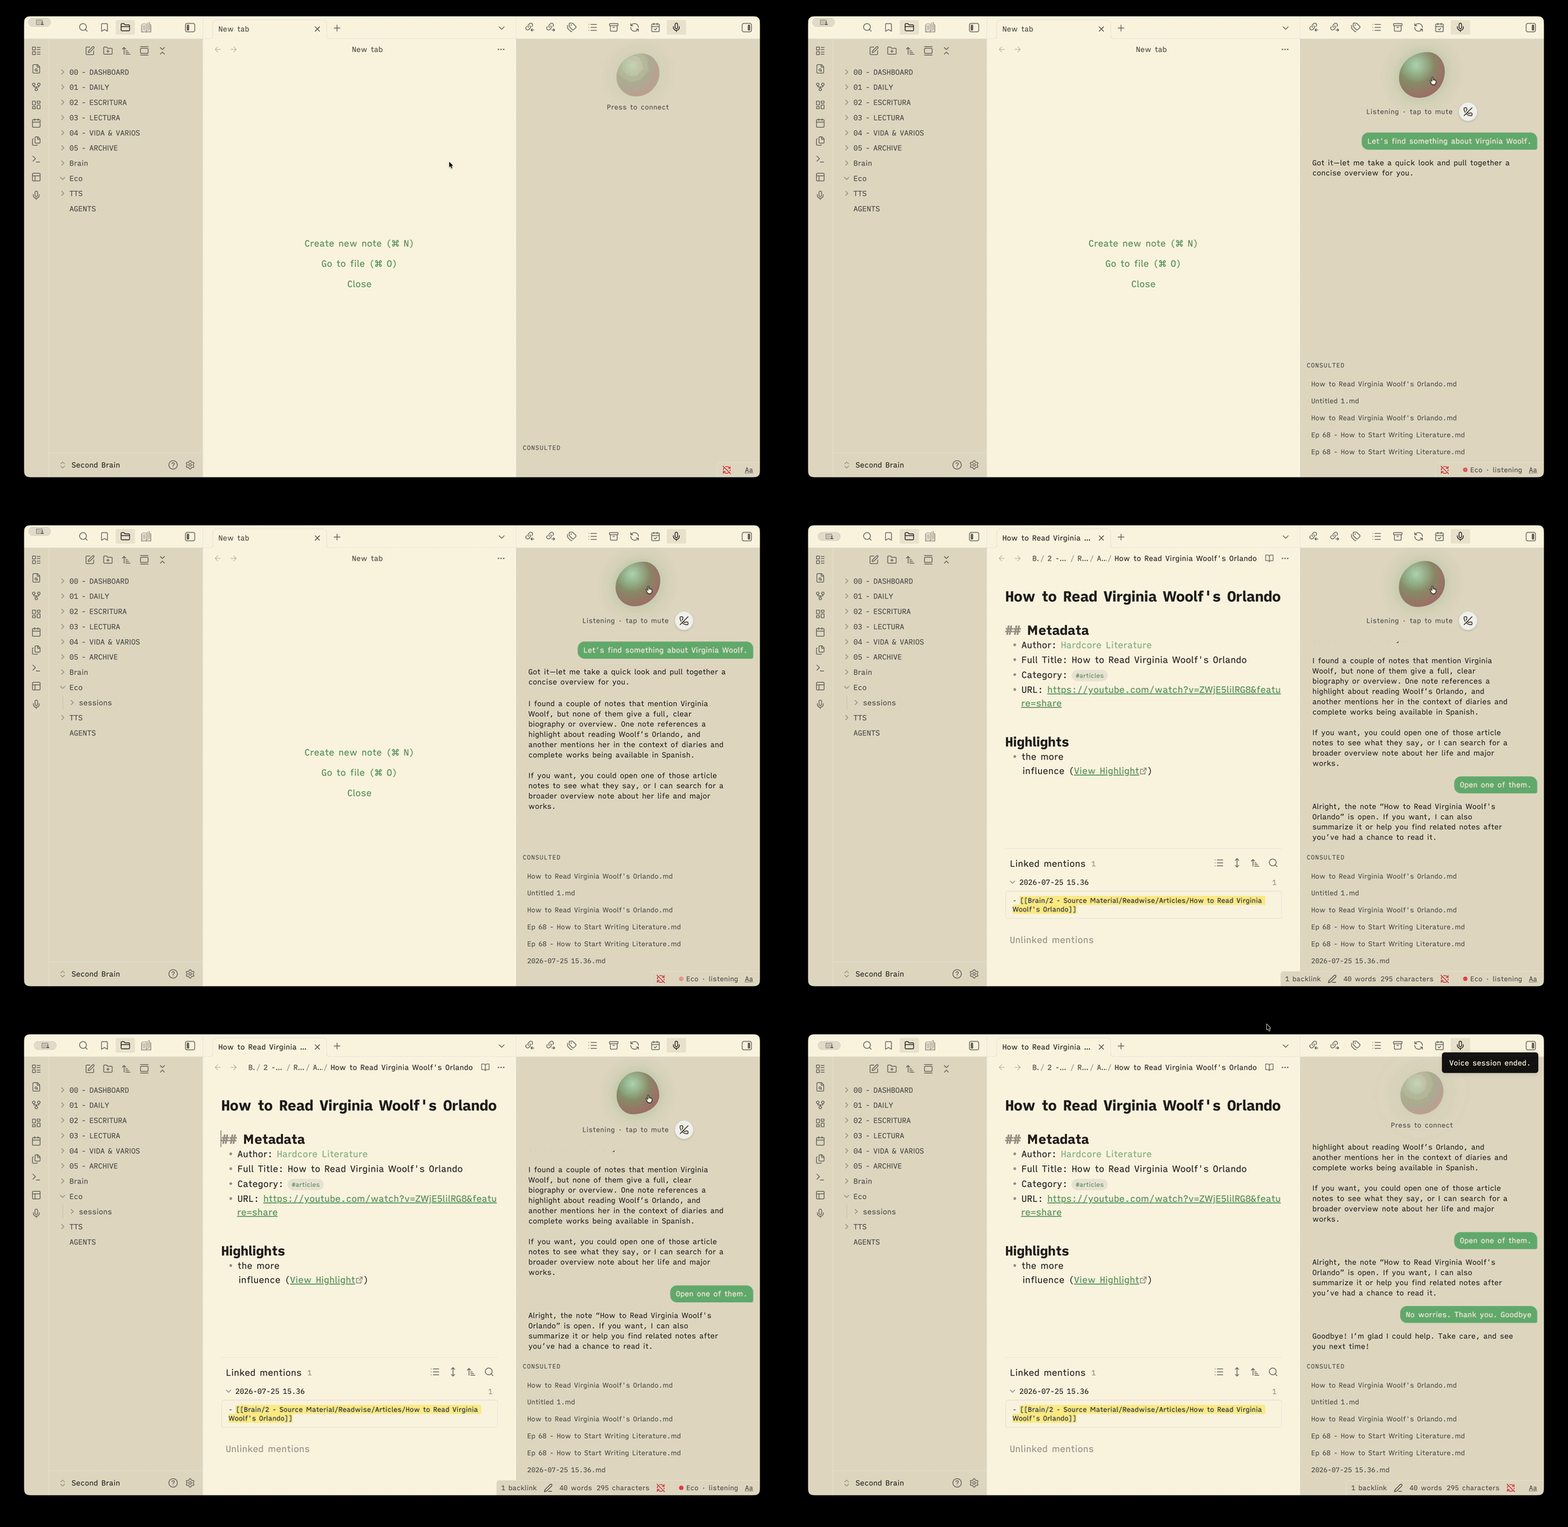
Start a session and just talk. The assistant can:
- Search & read your notes, open one in the foreground, or use the note you already have open.
- Follow the graph — read a note's
[[links]], its outline (headings), your#tags, and find notes by tag or by filename. - Write, with confirmation — append to the current note, insert text at the cursor, or create a new note (in a fixed folder), always asking first.
- Think harder when asked — it can delegate opinions and deeper analysis to a stronger reasoning model.
- Learn your preferences — tell it "from now on, always…" and it appends the
rule to your
AGENTS.md, which is merged into its instructions next time. - Remember conversations — each session is saved incrementally as a plain
Markdown note (in the assistant folder's
sessionssubfolder), with wikilinks to the notes it consulted. Sessions are searchable like any note, so past conversations become its memory — ask "what did we talk about yesterday?". - Hang up by voice — say goodbye and the session closes itself after its reply. There's also a hang-up button, and a status-bar indicator whenever the mic is live, even with the panel closed.
The side panel shows a voice orb that reacts to whoever is talking, the live transcript (both sides), and the list of notes it consulted (clickable).
How it works
- Voice is a direct WebRTC connection from Obsidian to the OpenAI Realtime API — low latency, no server in between.
- Your notes never leave your machine as a whole. The assistant reads your vault locally; only your spoken audio and the snippets it needs to answer a question are sent to OpenAI to generate the reply.
- Bring your own key (BYOK). Your OpenAI API key is stored locally in the
vault (
data.json) and only used to start sessions. There is no backend and no account.
Desktop only for now (it needs the microphone and WebRTC).
Network use, privacy & requirements
In plain terms, so you know exactly what this plugin does:
- Remote service used: OpenAI. The plugin talks to the OpenAI Realtime API (voice sessions over WebRTC, plus minting a short-lived session token) and, only when you use the "think" tool, the OpenAI Chat Completions API. It is needed because the voice conversation itself is generated by OpenAI's models.
- Remote control (optional, off by default): a pairing relay. If you enable it, the plugin keeps a WebSocket open to the relay URL you configure so a paired phone can use your vault's tools by voice. Tool traffic over the relay is end-to-end encrypted with a secret that travels only inside the pairing QR (screen → camera) — the relay forwards ciphertext it cannot read, stores nothing, and has no accounts. With remote control off, no relay is contacted.
- What gets sent: your microphone audio during a session, the assistant's
instructions (including your
AGENTS.mdif present), and the note snippets the assistant requests to answer you. Your vault is never uploaded or synced anywhere as a whole. - Requirements: your own OpenAI API key. Usage is billed to your OpenAI
account. The key is stored locally in the plugin's
data.jsoninside your vault and is only sent to OpenAI. - No telemetry. The plugin has no backend and collects no data — nothing is sent to the plugin author, ever.
- Microphone: used only during an active session; muting disables the audio track, and ending the session releases the mic.
Install (manual, while it's early)
- Download
main.js,manifest.json, andstyles.cssfrom a release. - Put them in
<your vault>/.obsidian/plugins/voz-notas/. - Reload Obsidian and enable VozNotas in Settings → Community plugins.
Setup
- Open Settings → VozNotas.
- Paste your OpenAI API key.
- (Optional) Pick the interface language (English / Español) and the reasoning model used by the "think" tool.
Use
- Click the mic icon in the left ribbon (or the orb in the panel) to start.
- Talk. Ask about your notes, ask it to open or read something, or dictate a new note.
- Click the orb while live to mute/unmute; click the mic icon again to end.
The spoken language follows your settings by default, and you can switch mid- conversation just by speaking another language.
Settings
| Setting | What it does |
|---|---|
| Language | Language of the plugin interface and the default spoken language (English / Español). |
| Assistant name | What the assistant is called (default Eco). |
| Assistant folder | Where it creates new notes and keeps session transcripts (default Eco). |
| Save session transcripts | Toggle saving sessions as notes (its memory). |
| OpenAI API key | Stored locally; only sent to OpenAI to start a session. |
| Reasoning model | Stronger model the "think" tool uses for opinions / analysis. |
| Instructions file | A Markdown file (default AGENTS.md) merged into the assistant's instructions. |
Build from source
npm install
npm run build   # bundles src/ → main.js
For development, symlink the repo into your vault's plugins folder so a rebuild updates the plugin in place.
Status
I built this for myself — it's early and evolving. If you use it and hit a rough edge or something's missing, open an issue.
For plugin developers
Search results and similarity scores are powered by semantic analysis of your plugin's README. If your plugin isn't appearing for searches you'd expect, try updating your README to clearly describe your plugin's purpose, features, and use cases.