Paste to S3
approvedby ClaudiaFang
Upload images to any S3-compatible storage. Features: WebP conversion, image compression, text & logo watermark with live preview. - This plugin has not been manually reviewed by Obsidian staff.
Paste to S3
Paste an image. It's optimized, uploaded, and linked automatically.




Previously Watermark Bucket Uploader. Existing installations and settings continue to work normally.
A zero-friction image uploader for Obsidian with S3-compatible storage, WebP conversion, compression, and optional watermarks. This plugin intercepts every paste and drop, optimizes the image, uploads it to your own S3-compatible bucket, and drops a clean  right into your note. Your images, your infrastructure.
Paste / Drop
    ↓
Optimize & Compress
    ↓
Convert to WebP
    ↓
Optional Watermark
    ↓
Upload to S3-compatible storage
    ↓
Insert Markdown link




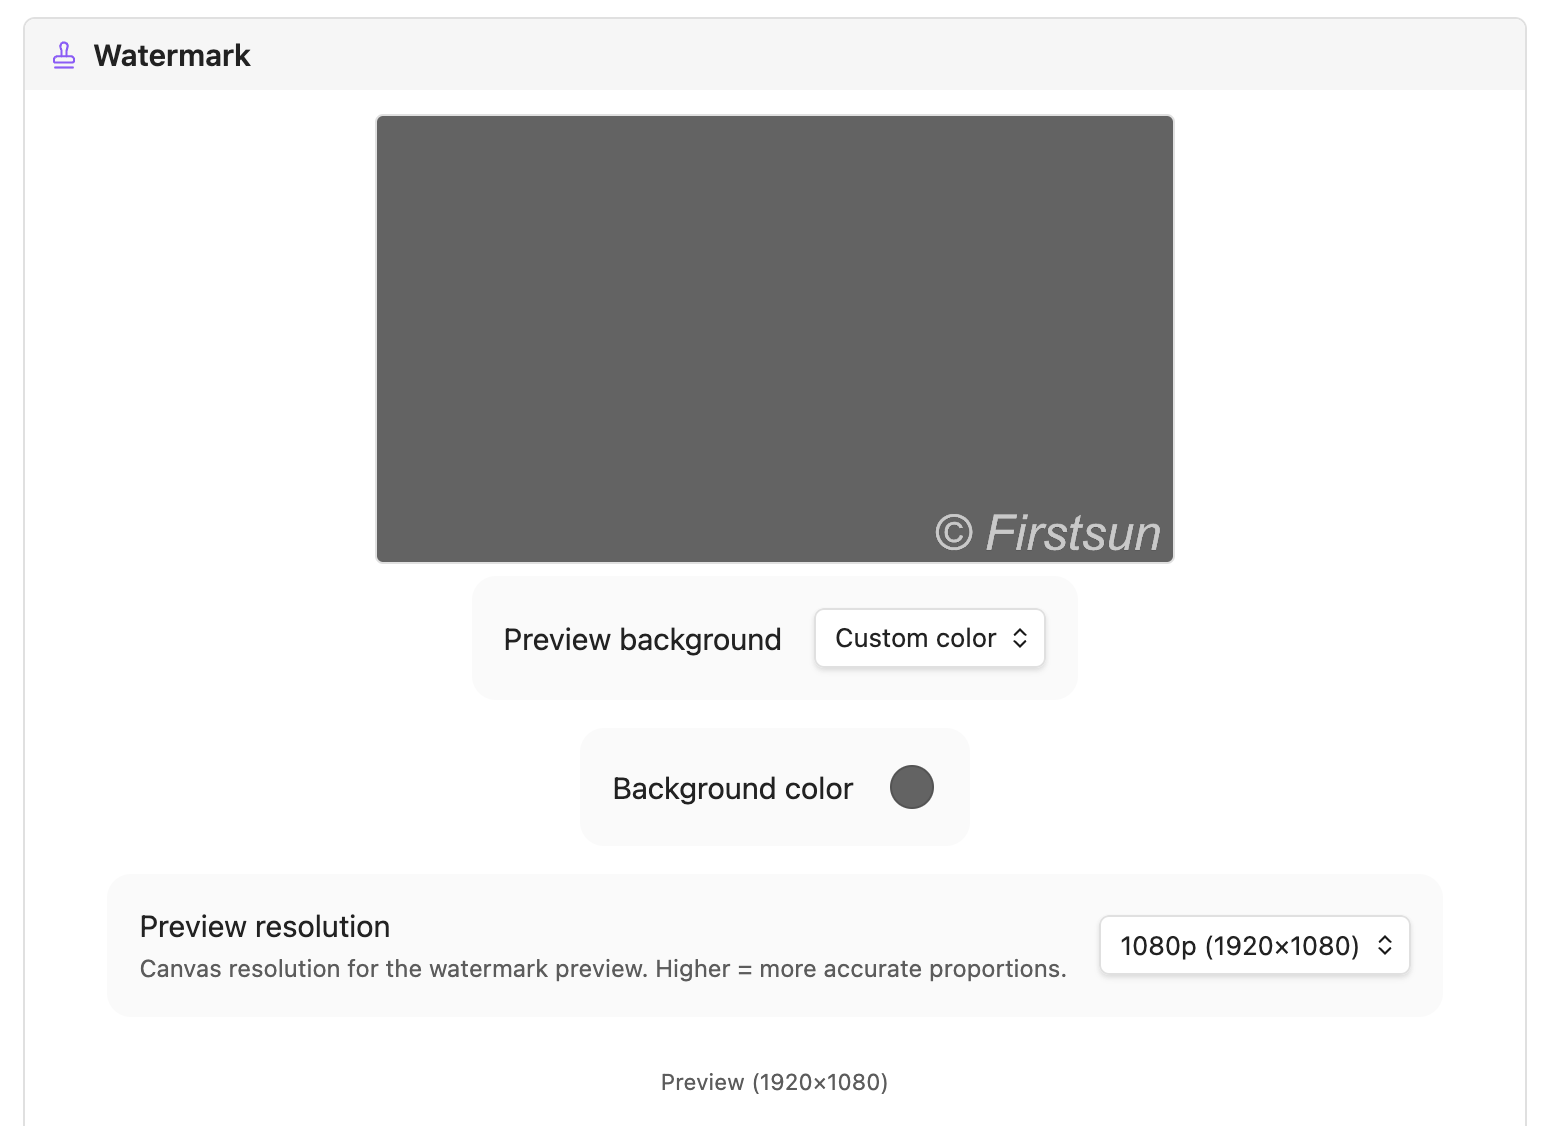 The Live Preview shows your text and logo watermark exactly as it will be applied — if you choose to enable one.
Why Paste to S3
- Paste and keep writing — paste or drag an image and it's already in your bucket. No menus, no dialogs.
- Your storage, not someone else's service — works with any S3-compatible bucket you already own and control. Bring your own storage.
- Smaller files, faster pages — automatic WebP conversion and compression keep your storage lean and your site fast.
- Optional watermarking — overlay custom text or a logo when you want one, with font, size, color, opacity, position, and a live preview. Watermarking can be disabled entirely.
- Works with any S3-compatible storage — Cloudflare R2, AWS S3, MinIO, Backblaze B2, and more.
- Keeps your private notes private — glob-based ignore patterns let you exclude specific folders from ever being uploaded.
- Not just images — optionally upload video, audio, and PDFs the same way.
Installation
From Community Plugins (recommended)
- Open Settings → Community plugins and turn off restricted mode.
- Click Browse, search for Paste to S3, click Install, then Enable.
Manual
- Download
main.js,manifest.json, andstyles.cssfrom the latest release. - Create
<vault>/.obsidian/plugins/watermark-bucket-uploader/. - Copy the three files into that folder.
- Reload Obsidian and enable the plugin under Settings → Community plugins.
Quick start
- Install Paste to S3.
- Open Settings → Paste to S3 and fill in your S3-compatible storage credentials (see Storage).
- Set your public image URL.
- Paste or drag an image into any note — it's optimized, uploaded, and a
link is inserted automatically.
Optional: configure compression, WebP, watermarking, upload-on-drag, and folder exclusions. For a step-by-step walkthrough on setting up Cloudflare R2 and configuring watermarks, see the Cloudflare R2 & Watermarks Setup Guide.
Configuration
Storage
Bring your own storage. Paste to S3 works with any S3-compatible provider — AWS S3, Cloudflare R2, MinIO, Backblaze B2, or any other S3-compatible endpoint.
| Field | Description |
|---|---|
| Access Key | S3 / R2 access key ID |
| Secret Key | S3 / R2 secret access key (stored securely in local storage) |
| Region | Bucket region (auto for Cloudflare R2) |
| S3 Bucket | Your bucket name |
| Bucket Folder | Optional path prefix — supports ${year}, ${month}, ${day}, ${basename} |
| Custom Endpoint | Required for R2 and non-AWS providers |
| Custom Image URL | Public URL base, e.g. your CDN or custom domain |
Cloudflare R2 quick setup
- Create a bucket in the R2 dashboard.
- Generate an API token with Object Read & Write permissions.
- Set Custom Endpoint to
https://<account-id>.r2.cloudflarestorage.com. - Set Region to
auto. - Set Custom Image URL to your public bucket domain.
Watermark (optional)
Watermarking is off by default and can be disabled entirely — skip this section if you don't need it. When enabled, open the Live Preview in settings to see changes in real time.
| Field | Description |
|---|---|
| Text Watermark | Toggle text overlay |
| Text | e.g. © yourdomain.com |
| Font / Size / Style / Color | Full typography control; size 0 = auto (2% of image width) |
| Logo Watermark | Toggle image overlay |
| Logo Path | Vault-relative path, e.g. _assets/logo.png |
| Logo Size / Opacity | Scale (% of image width) and transparency (0–1) |
| Position | Bottom Right, Bottom Left, Bottom Center, or Center |
| Offset X/Y | Fine-tune placement (±% of image dimensions) |
| Preview Res | Canvas resolution for preview accuracy (720p–4K) |
Daily workflow
| Action | Result |
|---|---|
Ctrl/Cmd+V in any note | Intercepts the image, processes it, uploads, inserts  |
| Drag & drop onto the editor | Same pipeline (enable "Upload on drag" in settings) |
Command Palette → Upload image | Pick a local file to upload manually |
| Auto-upload on create | Any image added to your vault is uploaded and removed locally |
Privacy and security
- Local storage — bucket credentials are stored locally in the plugin's data folder inside your vault, and are only ever sent to the storage endpoint you configured.
- No telemetry — the plugin collects no usage data or analytics.
Requirements
- Obsidian 1.6.6 or later
- Desktop and mobile supported
Development
git clone https://github.com/firstsun-dev/watermark-bucket-uploader.git
npm install

npm run dev    # watch build
npm run build  # type-check + production build
npm run test   # vitest suite
npm run lint   # eslint
License
MIT
Created by ClaudiaFang
For plugin developers
Search results and similarity scores are powered by semantic analysis of your plugin's README. If your plugin isn't appearing for searches you'd expect, try updating your README to clearly describe your plugin's purpose, features, and use cases.