Weather Widget
approvedby mr-asa
Weather widget for display in notes, Canvas, and a separate tab.
Weather Widget for Obsidian
Preset configurations live in the repository presets folder. Copy any file into your plugin settings and remove the first word before the dot so the file is named English | Русский |
Quick navigation
If you like the plugin as much as I do, you can always show your appreciation!
|

Why this plugin exists
Keeping in touch with friends and family scattered across the globe usually means checking several cities in a weather app, adjusting for time zones, and mentally comparing temperatures. I wanted a single glance overview that also looked at home in Obsidian. The first iteration was a quickly hacked DataviewJS snippet, but maintaining the markup, color tokens, and gradients turned into a time sink.
This project grew from that experiment: a configurable widget that renders the same layout in the sidebar, Markdown notes, and Canvas while keeping gradients, icons, and transitions perfectly aligned with my vault theme. GPT was a big help in the early scaffolding stage, the rest evolved from daily use.
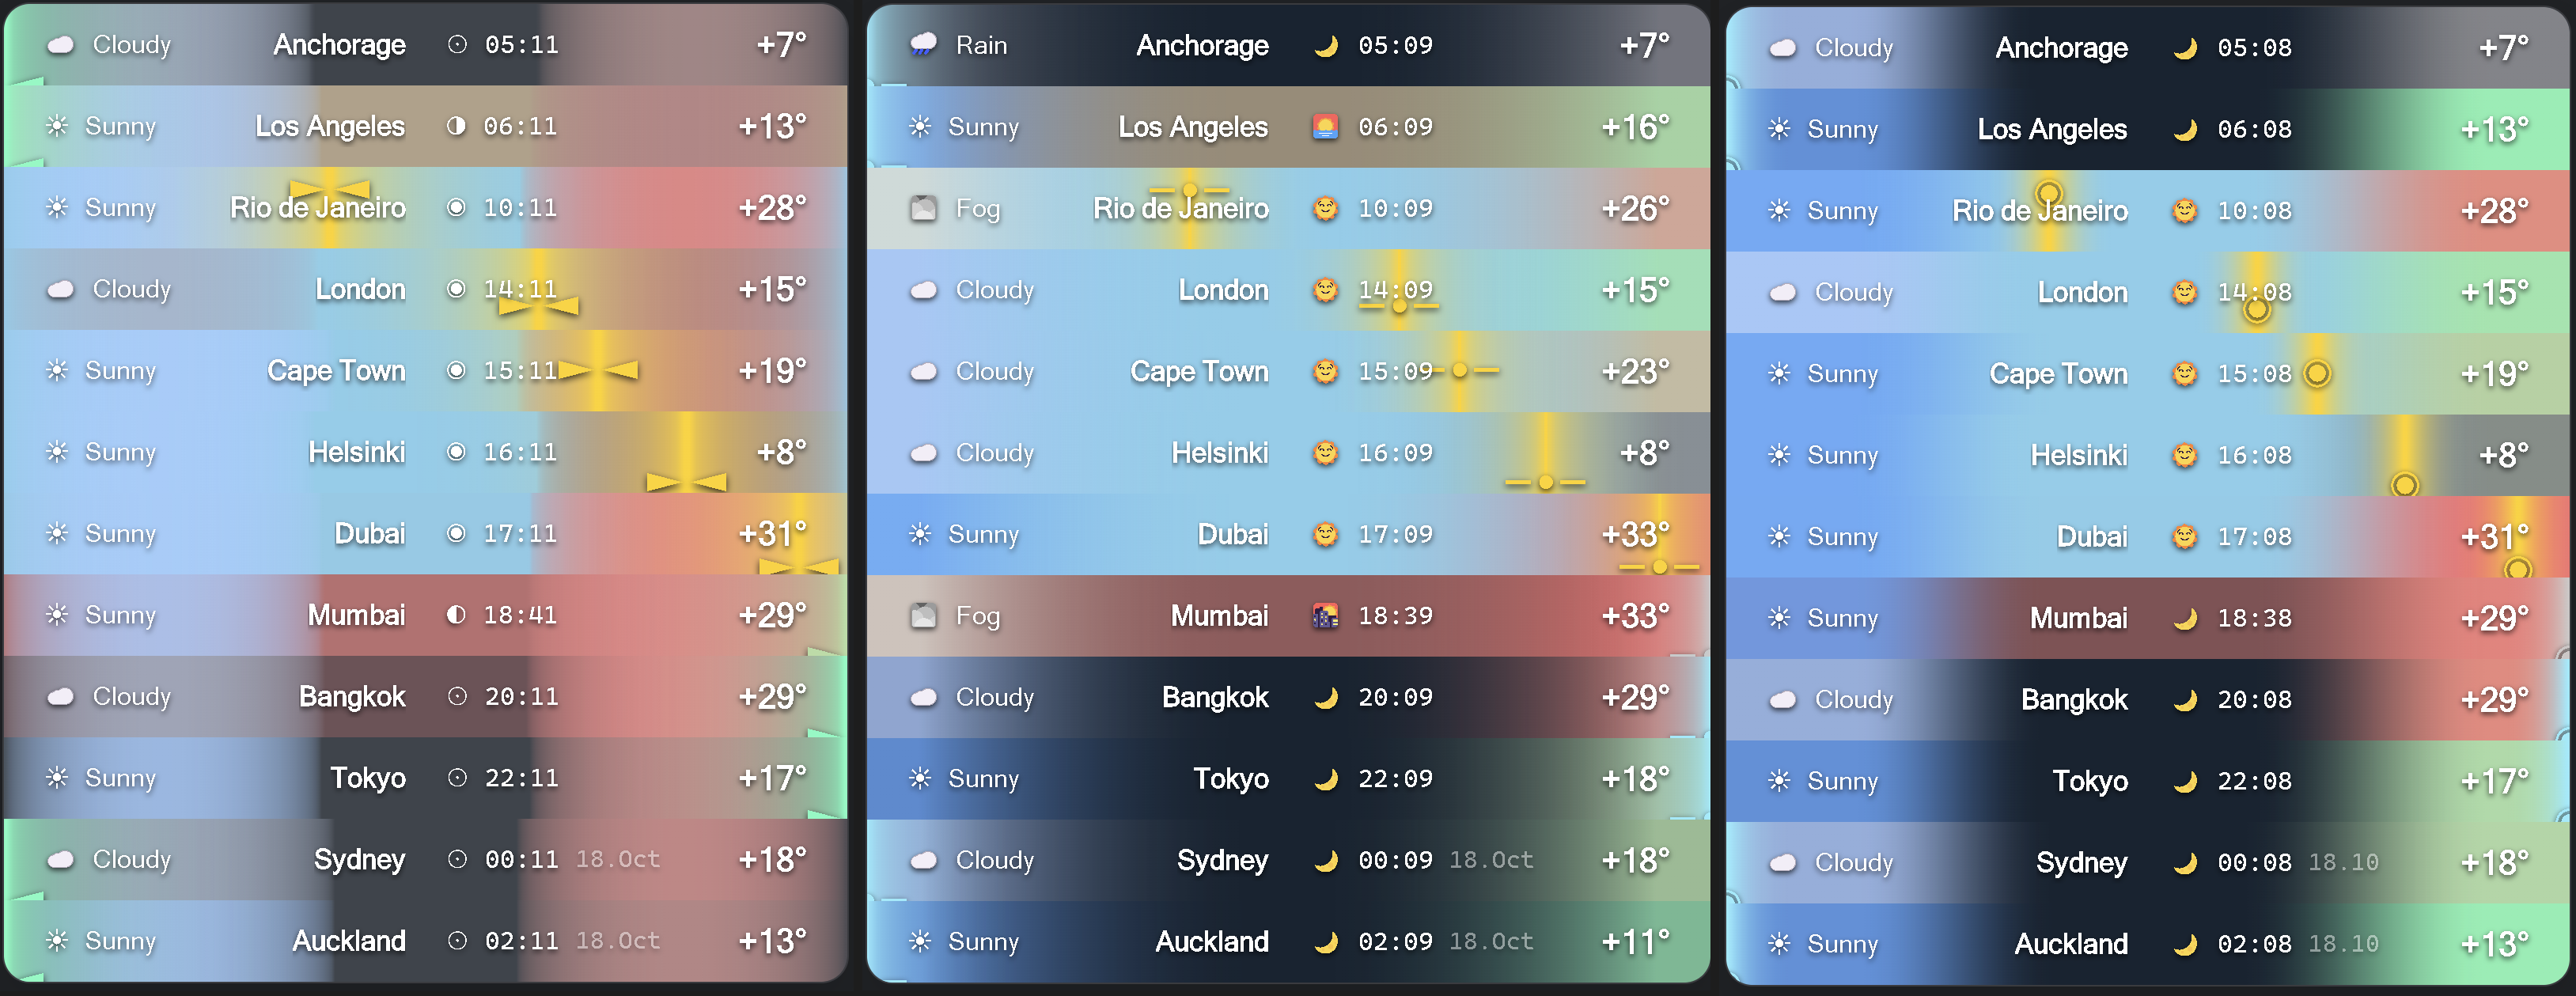
Weather Widget brings a live multi-city forecast directly into Obsidian. The widget mirrors the visual style of your vault, renders in a dedicated panel, Markdown notes, and Canvas nodes, and exposes all gradients, icons, and sun overlays for fine-tuning. Inline cities declared inside a code block merge with the global list without duplicates, so every note can show the exact mix you need.
Key Features
- Multi-city layout with automatic time zone offsets, sunrise/sunset easing, and temperature-driven gradients.
- Command palette shortcuts for opening the view or inserting a Canvas node.
- Works everywhere: dedicated sidebar view, inline Markdown blocks, and Canvas nodes.
- Two weather providers (Open-Meteo by default, OpenWeather – requires a free API key) with caching to stay inside rate limits.
- Deep appearance controls: swap any icons, palettes, sun overlay behaviour, and layered gradients with live preview.
- Localisation for English and Russian.
Installation
From Obsidian (when published)
- Open Settings → Community plugins
- Click Browse
- Search for “Weather Widget”
- Install and enable the plugin
Manual installation
From release
|
BRAT plugin
|
Usage
- Launch the sidebar widget with Weather Widget: Open tab or by opening the registered view from the right sidebar.
- Insert a Canvas node via Weather Widget: Insert Canvas node – it drops a ready-to-configure Markdown block.
- In any note, you can simply insert the line
```weather-widgetand a widget will be drawn in that place. - Configure everything in Settings → Weather Widget. Changes apply instantly to every rendered widget.
[!TIP] Add per-note cities inside a Markdown block. Each non-empty line must follow
"City name" <latitude> <longitude>(quotes required, whitespace-separated, no commas). Inline entries merge with your saved list without duplicates.Minimal block:
```weather-widgetWith inline cities and custom row height:
```weather-widget
row-height: 24
"Mossingen" 48.406635032  9.057441152
"Wuhan"     30.59543      114.29987
```
row-heightaccepts pixel values (24–200). Omit it to use the global default (~36 px).
Command Palette
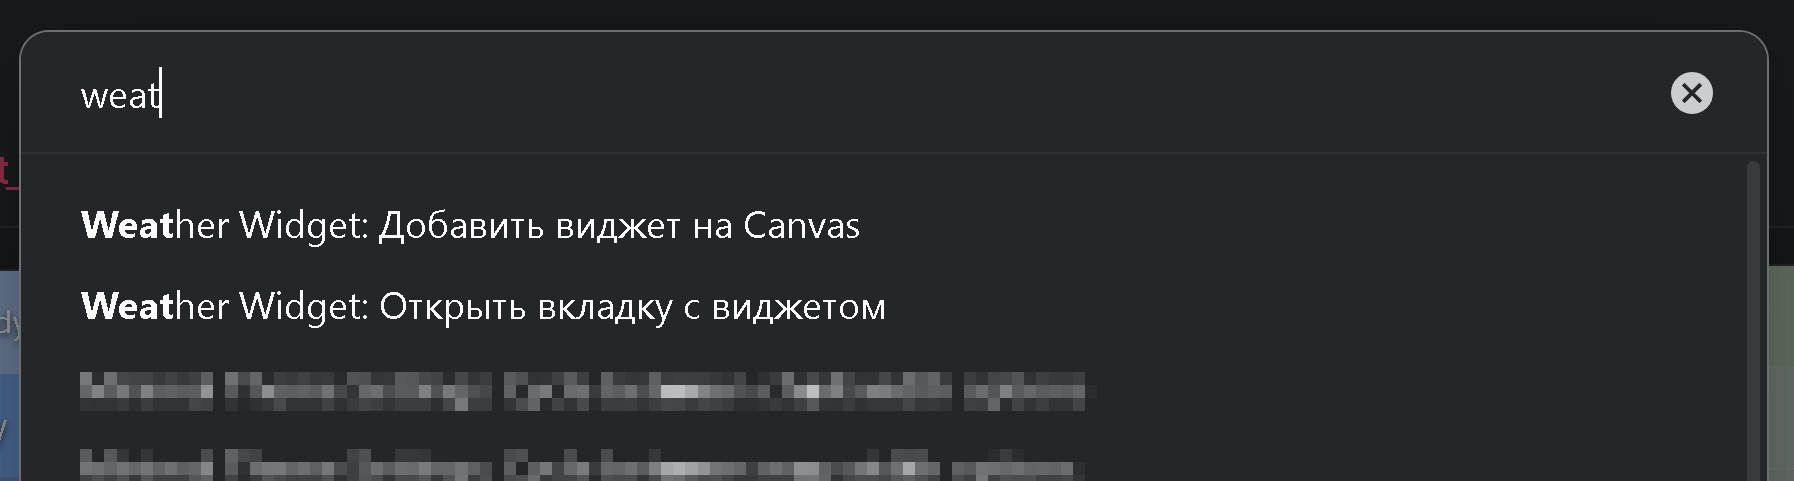
- Weather Widget: Open tab – focus the live widget view (right sidebar by default).
- Weather Widget: Insert Canvas node – create a Canvas text node with the Markdown placeholder.
Settings Reference
Localisation
Switch between English and Russian without reloading the vault. City names remain untouched.
Weather updates
- Pick a data provider:
- Open-Meteo (no key) or
- OpenWeather (requires free API key).
[!TIP] Switching providers refreshes the cached data. This can be useful in cases where not all cities are loaded when the plugin is launched.
Locations
- Maintain the global city list. Every row lets you set name, latitude, longitude, re-ordering, or deletion.
[!note] City names can use any language, symbol, or emoji.
Custom display names exist for convenience. For example, I track a nearby mountain and the city below; naming the exact coordinates through standard providers is tricky, so custom labels keep both points clear.
Preview playground
- The preview widget mirrors the real component. Sliders simulate local time and temperature, the dropdown swaps weather categories.
[!note] Use ←/→ or ↑/↓ to nudge slider values one step at a time.
Time-of-day palette
- Choose base colors for morning, day, evening, and night.
- Replace the time-of-day icons if you prefer custom symbols (for example: ◑ ◉ ◐ ⨀).
- Define how many minutes before sunrise/sunset blending should start and end.
Sun layer
- Customize colors for day/night/sunrise/sunset and the symbol used for the sun.
- Select an alpha curve profile to control how the sun gradient fades in/out.

- Configure gradient width, opaque core, opacity multiplier, overflow, and icon behaviour (regular vs monospaced font).
- Tune sunrise/sunset transition windows similar to the time-of-day palette.
[!note] I introduced the sun symbol to represent the height of the sun above the horizon. You can choose any text character or combination of characters for the icon, as long as it sits in the middle of the line. Here are some ideas:
◯⨀○৹●•·◎◉
▣◇◆▪▫
- – —
►◄▻◅▸◂▹◃
⋯Θ⊢⊣For example, pick ◯ for a large ring, or enable a monospaced font and write —•— for a clean indicator (I like the variant ——●—— with size 0.5). You can also disable the icon entirely and keep only the colour accent.
Weather layer
- Set icon and colour per weather category.
- Adjust alpha profile, inner opacity ratio, overall opacity, and left fade.
Temperature layer
- Manage temperature-to-colour stops, add/remove entries, and configure the alpha profile similar to the weather layer.
Additional options
- Edge gradient width – global scaling factor for weather and temperature layers. Use smaller values when you prefer solid day/night backgrounds.
[!note] Weather and temperature transitions can differ in perceived width for each city. This is deliberate: daylight length is reflected in the gradient span.
For plugin developers
Search results and similarity scores are powered by semantic analysis of your plugin's README. If your plugin isn't appearing for searches you'd expect, try updating your README to clearly describe your plugin's purpose, features, and use cases.