Infoboxes
unlistedby Avyrra
Create wiki-style infoboxes.
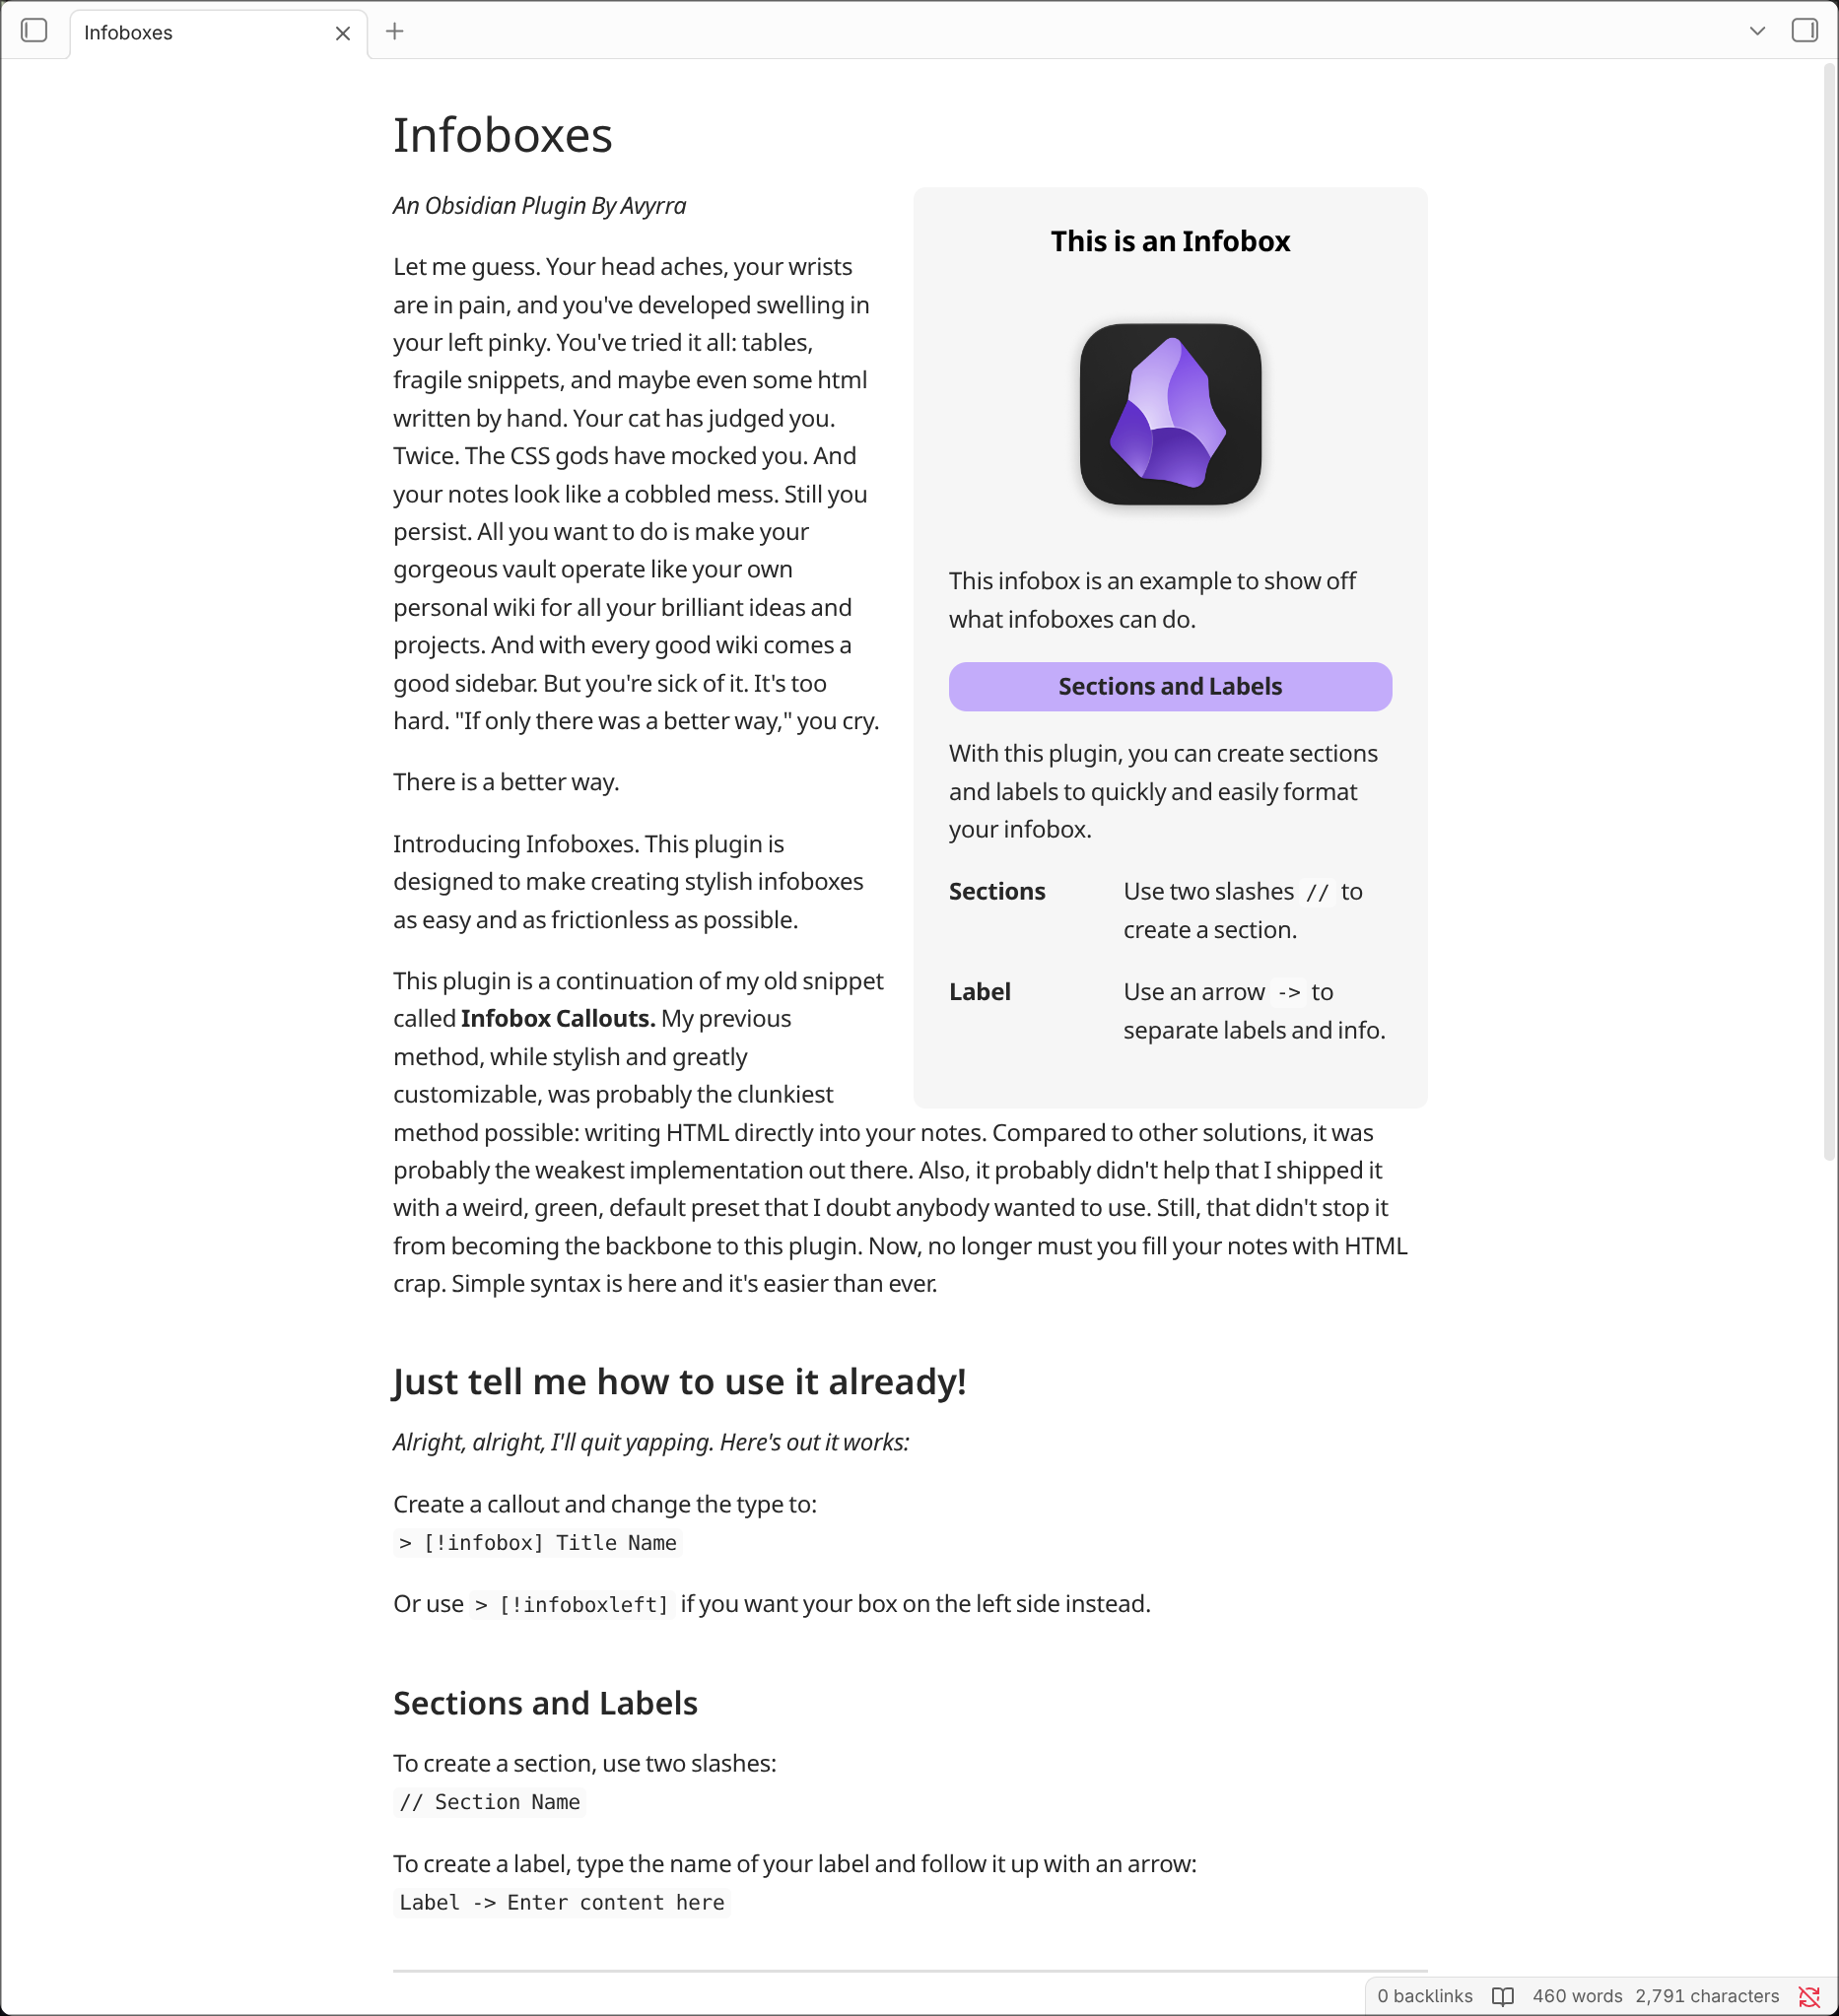
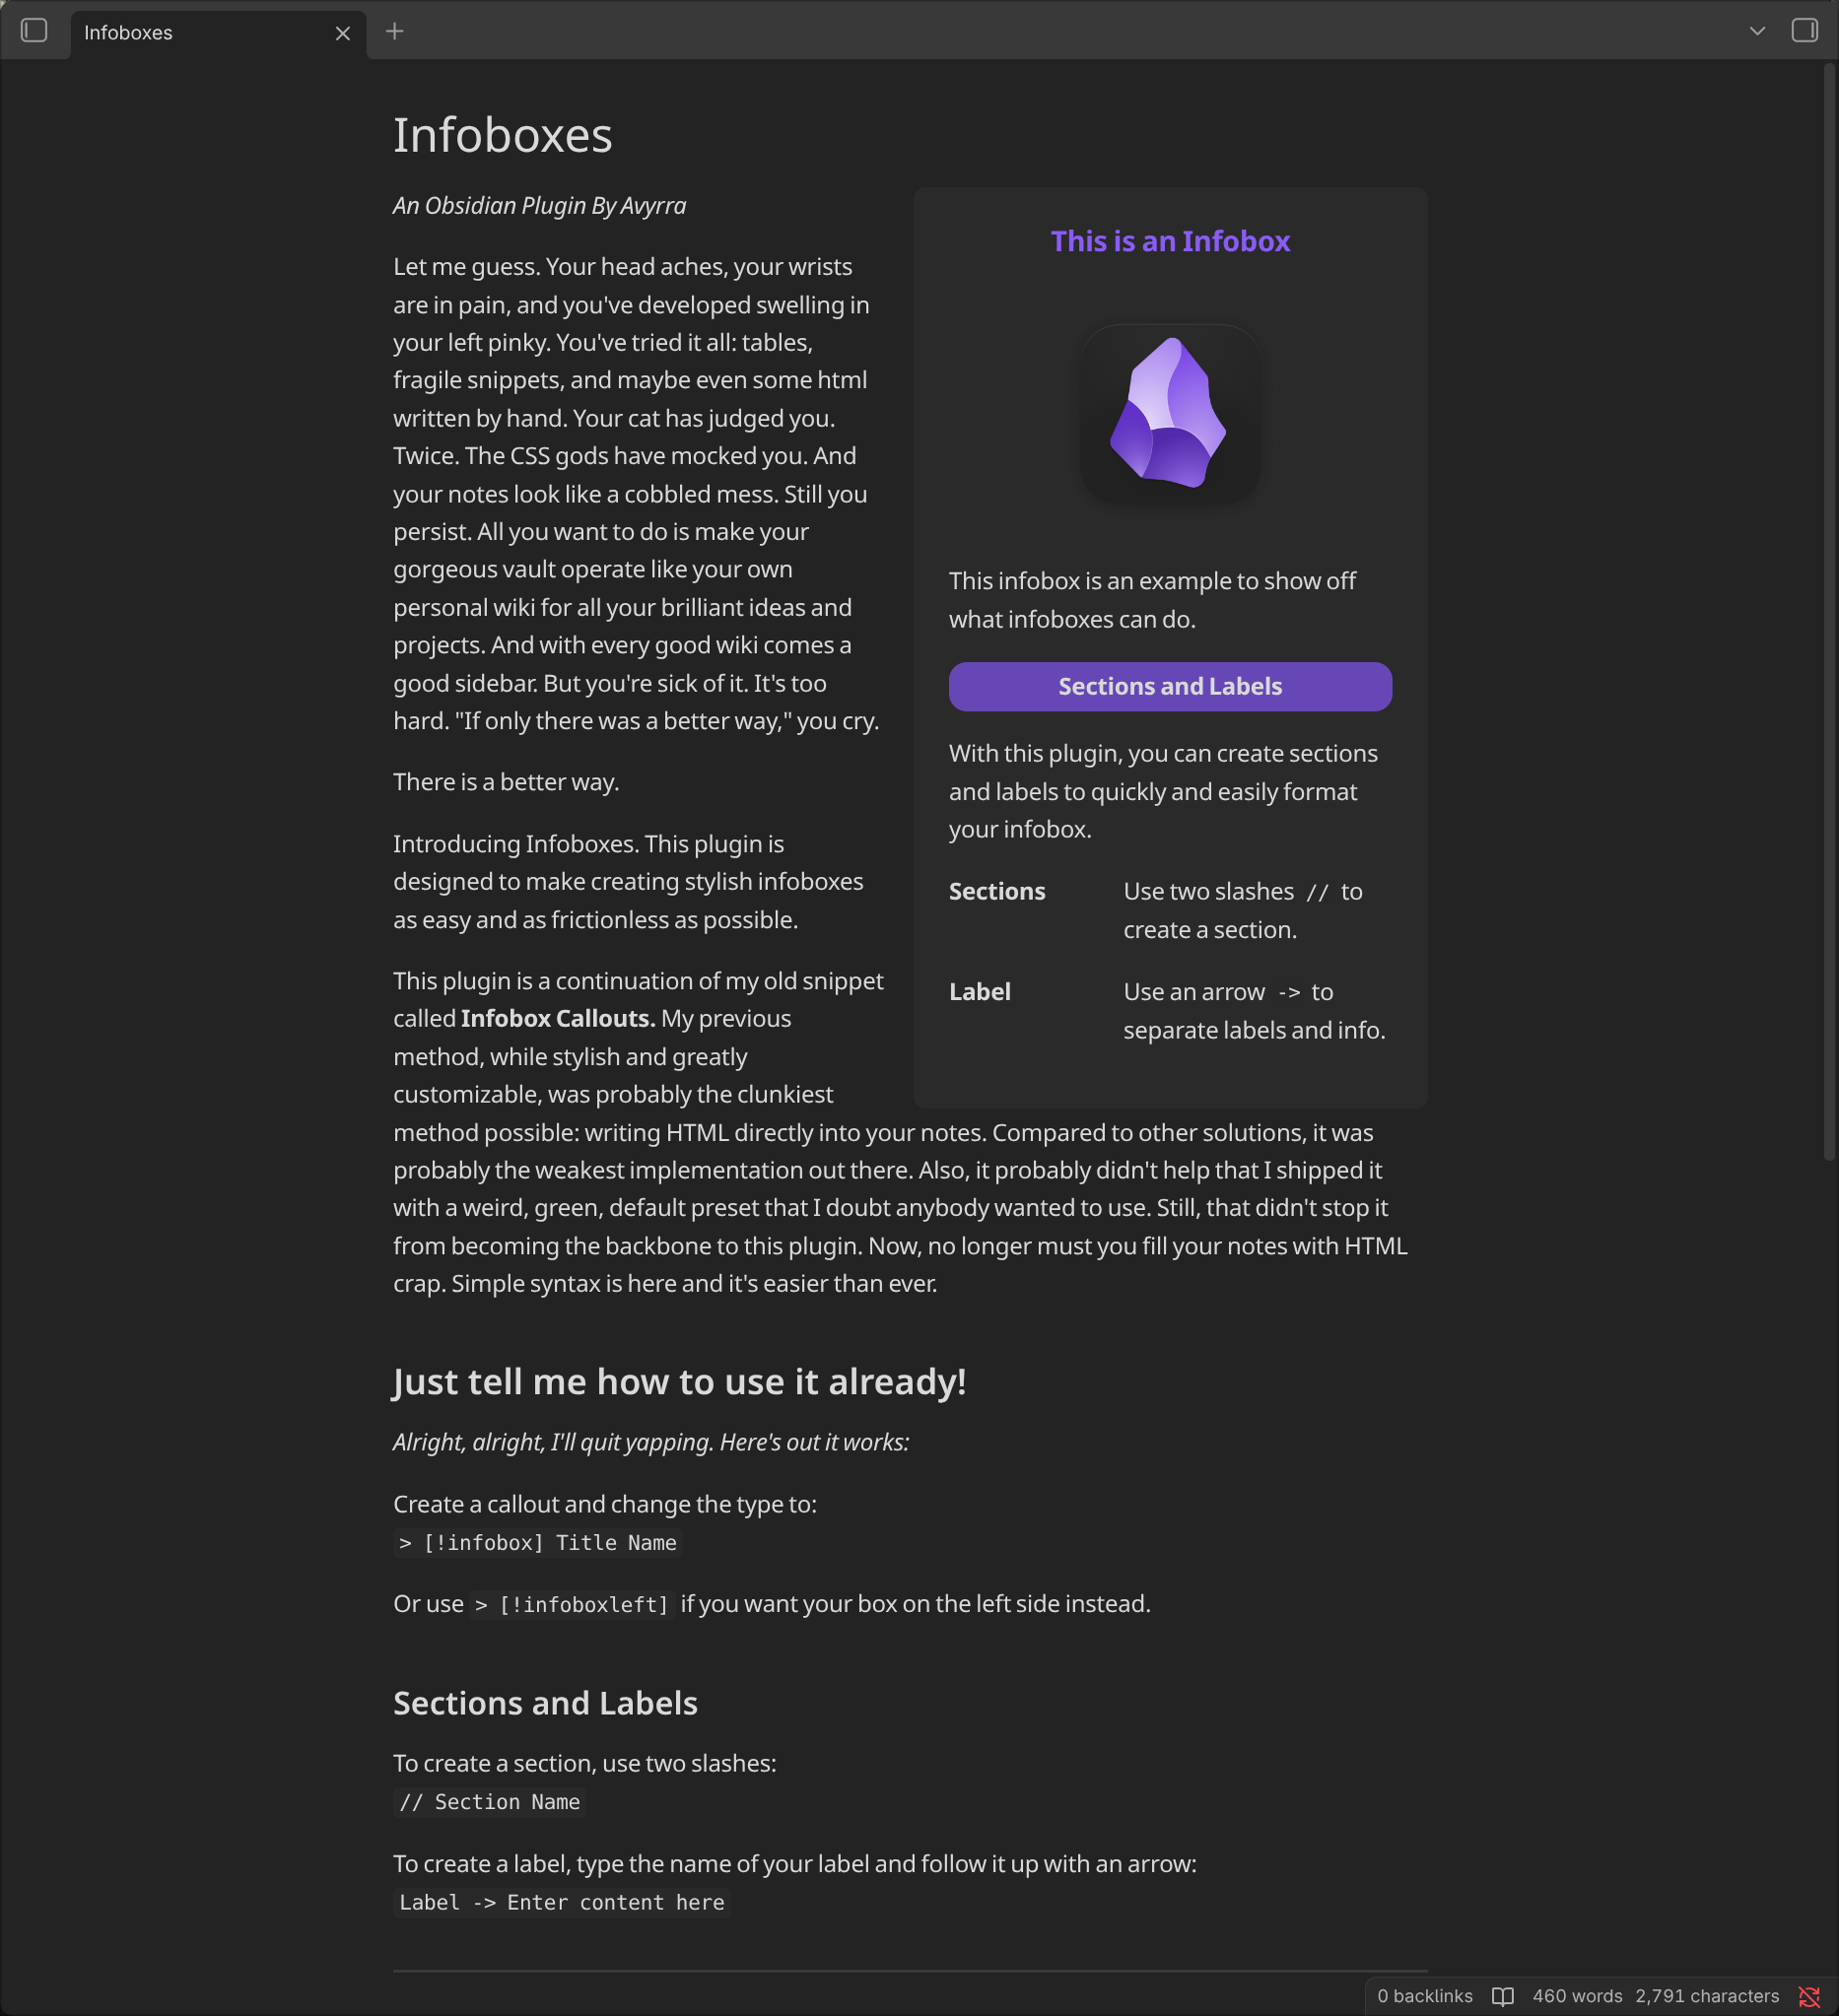
This plugin allows you to create wiki-like sidebars. It utilizes callouts and custom syntax to make creating infoboxes simple and intuitive.
How to Install
This plugin is not yet on the community plugins browser, however it can still be installed and updated via the BRAT plugin.
- Enable Community plugins in obsidian and install the BRAT plugin. Enable it.
- Open the BRAT plugin options and scroll down to "Beta plugin list"
- Click add beta plugin
- Copy and paste this repository's URL into the window that appears
- Select latest version
- Click Add Plugin
How to use
To create an infobox, insert a callout and change the type to infobox:
> [!infobox] Title Name
An infobox will float to the right of any content whose source written after the callout. If you would like the infobox to be on the left side, you can use > [!infoboxleft] instead.
Within the callout, you can use two slashes to create a section. // Section Name
To create a label, use an arrow to separate the name of your label with the information that you'd like to to display next to it: Label Name -> Add information here
Example
> [!infobox] Title Name
> 
>
> // Section Name
>
> Label -> Info
Dynamically Insert Properties
You can use the ~yaml command to dynamically insert properties within an infobox. All properties will be displayed as labels. Functional properties such as aliases or tags will not be displayed. When properties are updated, they will automatically be reflected in the infobox.
If you would like to display only a specific selection of properties, you can use commas to denote which properties you'd like to use. With this method, you can also choose to display functional properties that were previously filtered.
Example: ~yaml, aliases, tags, size, color
Additionally, you can choose to render all but a selection by appending it with an exclamation point. All properties will be displayed as labels with the exception of functional properties and your selection.
Example: ~!yaml, size, color
Example
> [!infobox] Title Name
>
> // Section Name
>
> ~yaml
Aliases
The following aliases can be used instead of ~yaml
~metadata
~properties
~meta
~data
~fields
Customization
Style Settings (Highly Recommended)
Styles, colors, and additional tweaks can be customized by installing the Style Settings plugin. Once installed, the infoboxes customization menu will be displayed within the Style Settings plugin options.
CSS
The .css file for infoboxes does not utilize the !important rule. If you would like to make adjustments to infoboxes, you can do so with a snippet.
Target infobox via css with the following:
.callout[data-callout="infobox"],
.callout[data-callout="infoboxright"],
.callout[data-callout="infoboxleft"] {

}
Infobox Presets
Your infobox presets can now be saved and loaded as easily as switching your Obsidian themes. The presets system piggybacks off of Style Settings, so having Style Settings installed is a necessity. Once installed, the presets menu will appear in the Infoboxes options menu and a new folder called "presets" will be added to the plugin directory once that menu is opened for the first time. Once you've created a style you like in Style Settings, you can save and load it via Infoboxes options menu. Presets are saved as .json files so sharing presets is as easy as adding them to the presets folder.
Obsidian Theme Compatibilities and Incompatibilities
Testing has shown that Infoboxes will work with most Obsidian themes and the default settings are designed to blend in as nicely as possible with whatever theme you throw at it. However, some themes apply styling to callouts that may interfere with the look of your infoboxes. It's worth looking to see if that theme comes with any options (likely within Style Settings) that removes the theme's special callout styling.
For plugin developers
Search results and similarity scores are powered by semantic analysis of your plugin's README. If your plugin isn't appearing for searches you'd expect, try updating your README to clearly describe your plugin's purpose, features, and use cases.