by IvyYang1999
Drag Obsidian file explorer items as terminal-friendly absolute paths.
Drop as Path
Drag files and folders from Obsidian's File Explorer into terminals as usable path text.



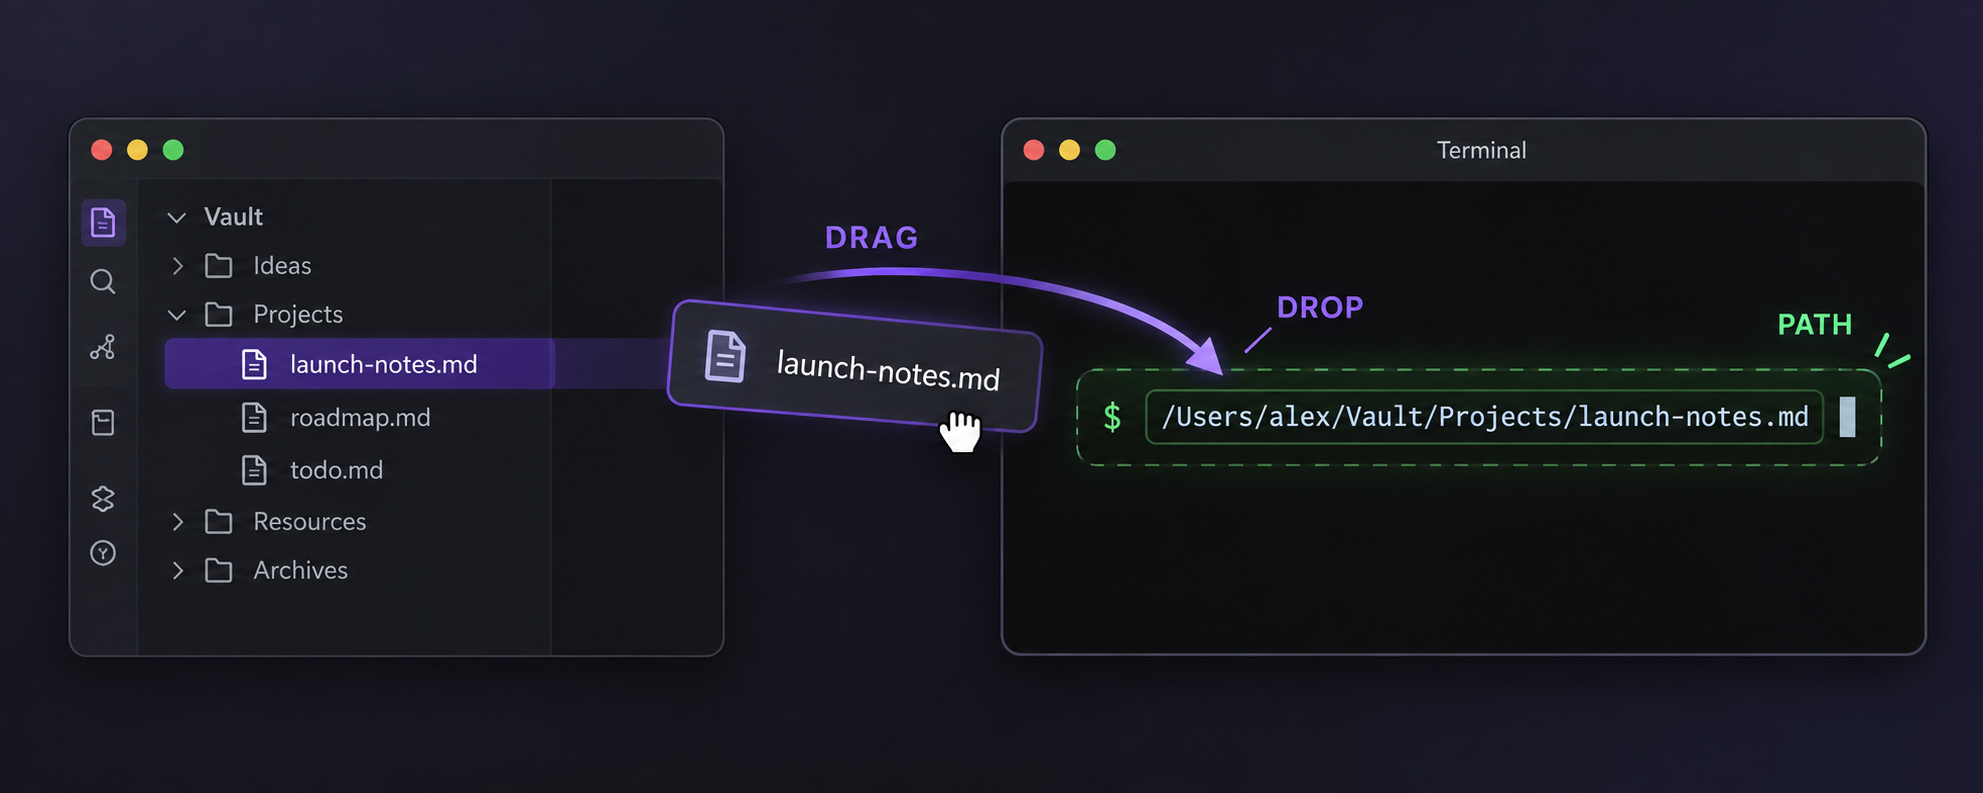
Drop as Path makes Obsidian's File Explorer behave better in terminal-heavy workflows. Drag a note, attachment, or folder from the left file tree into a terminal, and the terminal receives a terminal-friendly file system path instead of an Obsidian-internal drag object.
It is designed for people who use Obsidian next to Terminal.app, iTerm2, Termy, Claude Code, Codex, Gemini CLI, shell scripts, and other local tools.
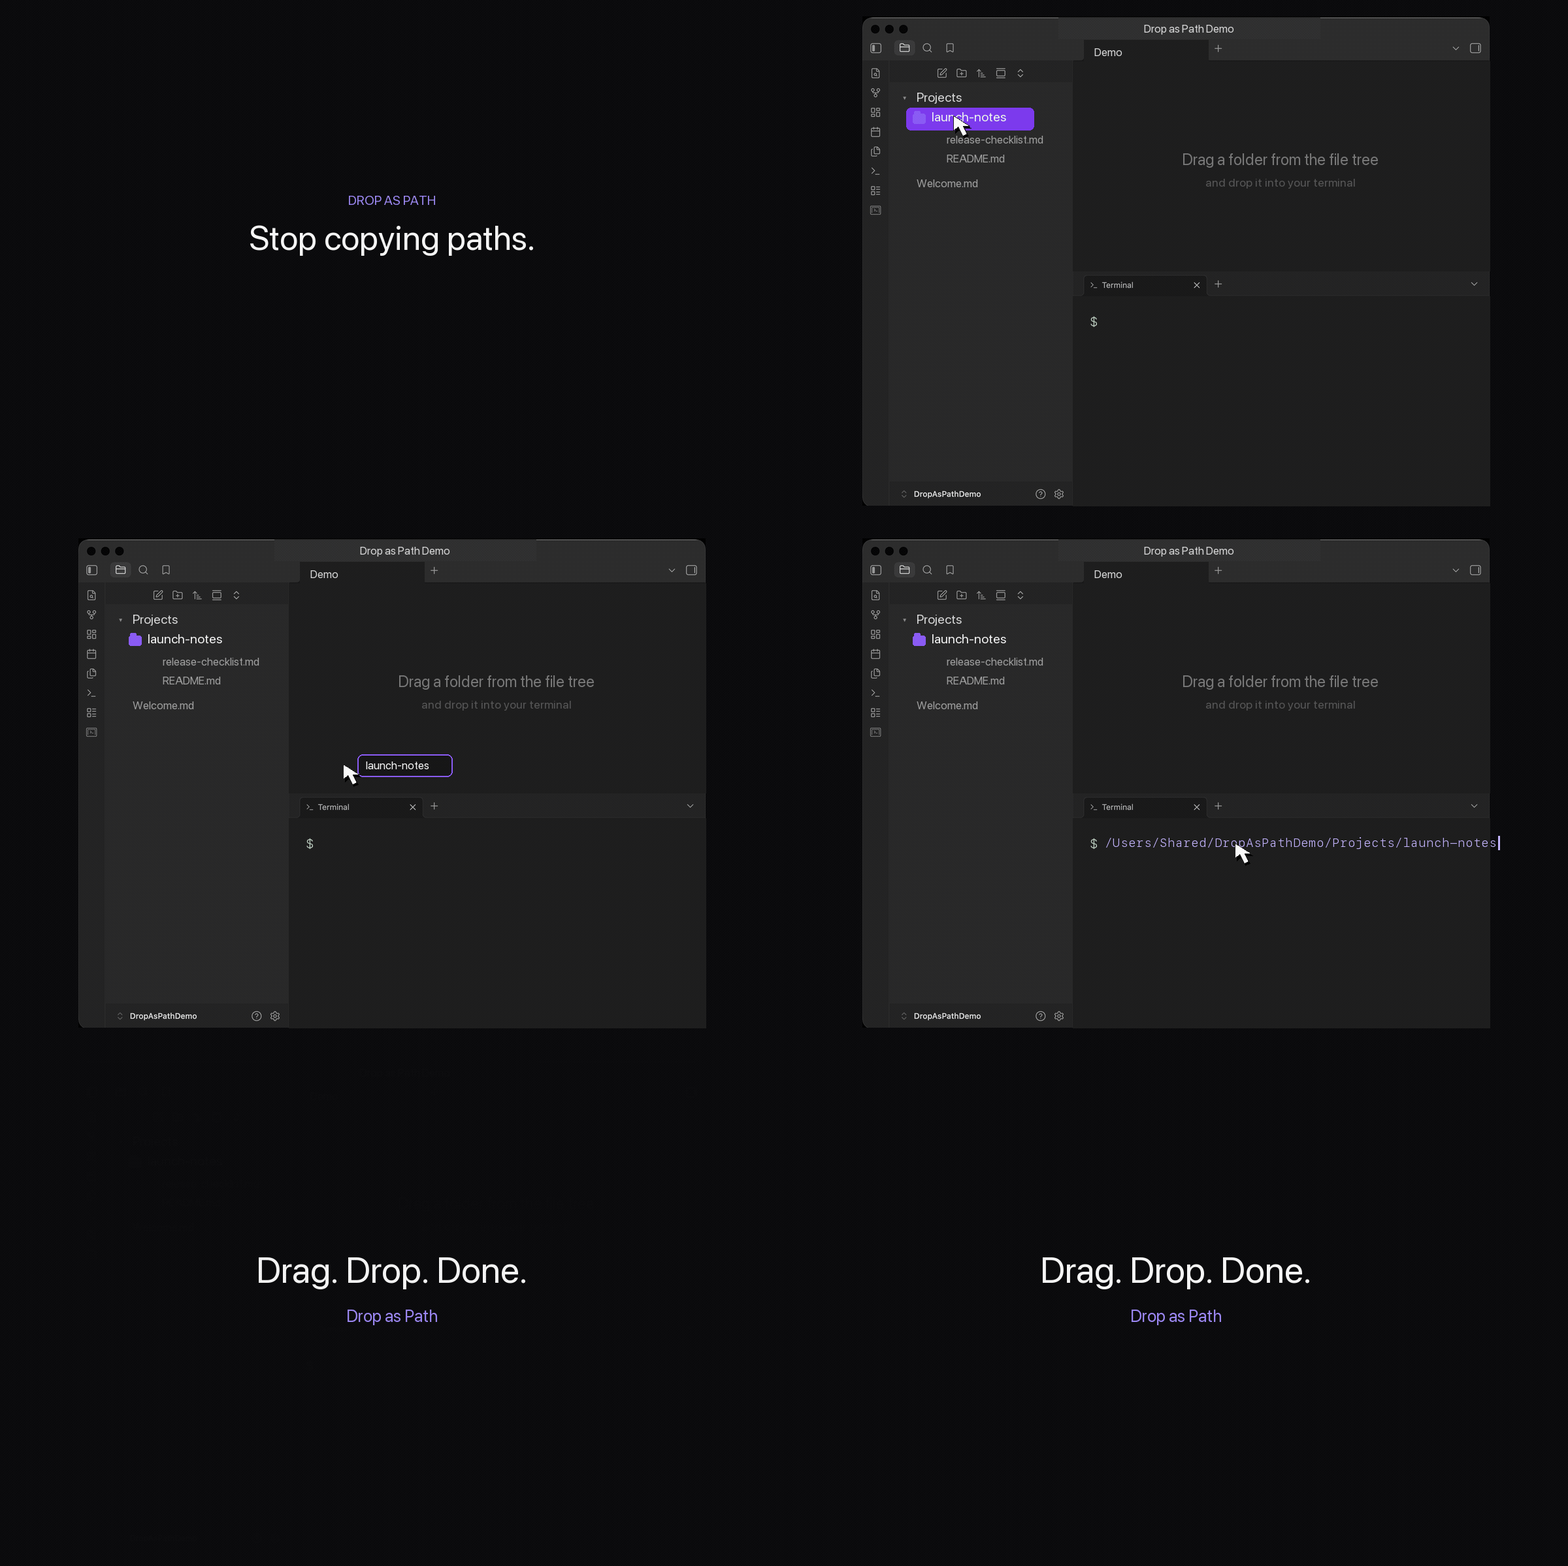
Demo
Why
Obsidian is a strong local-first workspace, but file tree dragging is not optimized for terminal workflows. If your vault is also your project notebook, AI context library, or operating console, you often need to pass a note or folder path into a shell command.
Drop as Path keeps that action direct:
drag from File Explorer -> drop into terminal -> path appears
Features
- Drag files or folders from Obsidian's File Explorer as path text.
- Defaults to absolute file system paths.
- Works with Obsidian embedded terminals that accept text drops.
- Works with external terminals that accept text drops, including common macOS terminal apps.
- Copies the same path text to the clipboard as a fallback for terminals that ignore drops.
- Supports shell quoting as an optional setting.
- Supports vault-relative paths as an optional setting.
- Supports multiple selected files or folders.
- Supports space or newline separators for multiple paths.
- Appends a trailing space by default so dropped paths fit naturally into commands.
Usage
- Open Obsidian on desktop.
- Open a terminal, such as Terminal.app, iTerm2, Termy, or another embedded terminal.
- Drag a file or folder from Obsidian's left File Explorer into the terminal input area.
- The path is inserted as text.
Example output:
/Users/mac/Documents/Obsidian Vault/Projects/My Note.md
If the terminal does not accept dropped text, paste with Cmd+V / Ctrl+V. The plugin copies the same path text to the clipboard by default.
Settings
Open Settings -> Community plugins -> Drop as Path.
| Setting | Default | Description |
|---|---|---|
| Path format | Absolute path | Insert full file system paths or vault-relative paths. |
| Shell quote paths | Off | Wrap paths for shell safety. Useful for paths with spaces when you want shell-ready tokens. |
| Multiple path separator | Space | Separate multiple selected paths with a space or newline. |
| Copy to clipboard fallback | On | Also copy dragged path text to the clipboard. |
| Append trailing space | On | Add a final space after the inserted path. |
Compatibility
- Obsidian desktop only.
- Tested primarily for desktop terminal workflows.
- The plugin does not run on mobile because it relies on desktop drag-and-drop behavior.
Terminal drop behavior is controlled partly by the receiving terminal application. Most terminals that accept text drops should work. If a terminal ignores dropped text, use the clipboard fallback.
Privacy
Drop as Path runs locally inside Obsidian.
- No telemetry.
- No network requests.
- No external services.
- No file contents are read.
- Only dragged file or folder paths are written to the drag payload and, if enabled, the clipboard.
Limitations
- External terminal support depends on whether the terminal accepts
text/plaindrop data. - Obsidian's File Explorer DOM can change between app versions. If dragging stops working after an Obsidian update, please open an issue.
- The plugin does not create terminal sessions. Pair it with your preferred terminal plugin or terminal app.
Installation
From Obsidian Community Plugins
- Open Settings -> Community plugins.
- Turn off Restricted mode if needed.
- Click Browse.
- Search for Drop as Path.
- Install and enable the plugin.
Manual install
- Download the latest release from GitHub Releases.
- Copy
manifest.json,main.js, andstyles.cssinto:
<your-vault>/.obsidian/plugins/workbench-drag-path/
- Reload Obsidian.
- Enable Drop as Path in Settings -> Community plugins.
Development
npm install
npm run build
Build output:
main.jsmanifest.jsonstyles.css
For local testing, copy those files into a vault plugin folder:
<your-vault>/.obsidian/plugins/workbench-drag-path/
Release Checklist
Before submitting to the Obsidian community plugin directory:
- Confirm
manifest.jsonhas the correctid,name,version,minAppVersion, andisDesktopOnly. - Update
versions.json. - Create a GitHub release tag that matches
manifest.json, such as0.1.0. - Attach
manifest.json,main.js, andstyles.cssto the release. - Make the repository public.
- Submit the plugin to
obsidianmd/obsidian-releases.
License
MIT
For plugin developers
Search results and similarity scores are powered by semantic analysis of your plugin's README. If your plugin isn't appearing for searches you'd expect, try updating your README to clearly describe your plugin's purpose, features, and use cases.