Constella
approvedby loopman90
Turn your Obsidian vault graph into a living, configurable knowledge visualization. - This plugin has not been manually reviewed by Obsidian staff.
Constella for Obsidian
Your vault in motion.
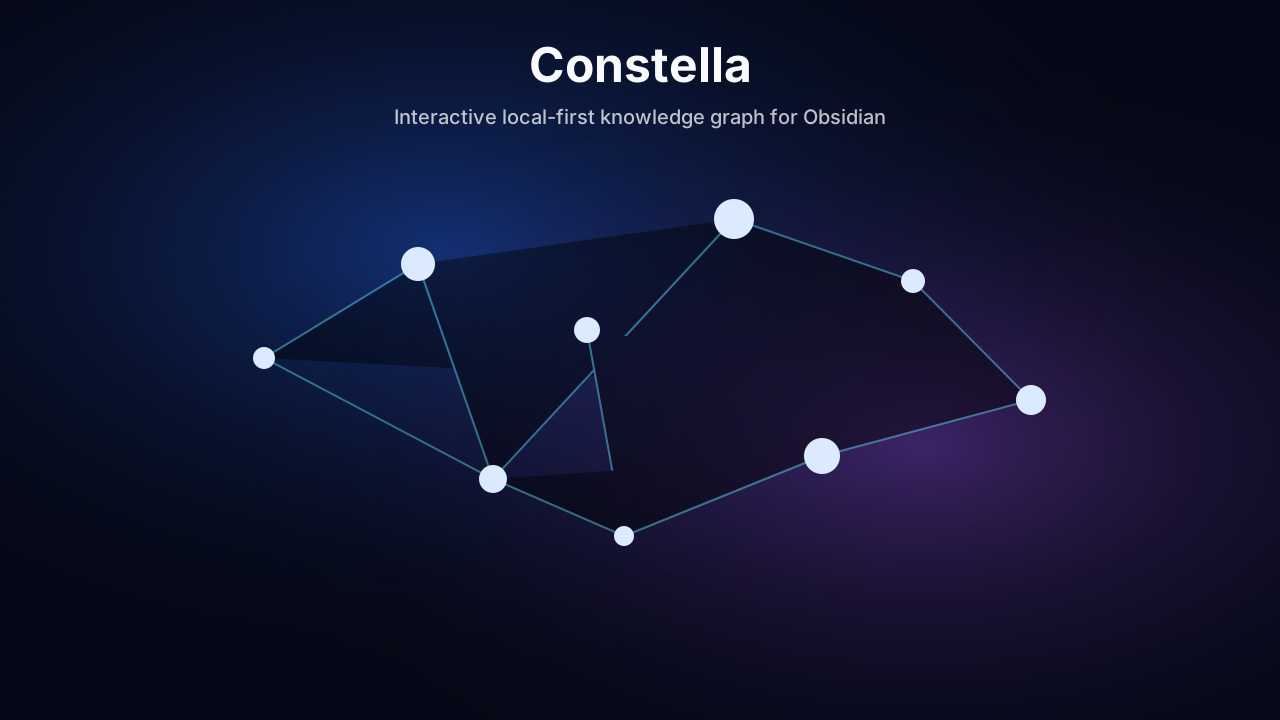
Constella turns your Obsidian vault into an interactive, local-first knowledge graph. Notes become nodes, links become connections, and your graph can be explored manually, through auto-travel journeys, visual templates, playlists, fullscreen mode, or a pop-out display window.
- GitHub: https://github.com/loopman90/constella-obsidian-plugin
- Releases: https://github.com/loopman90/constella-obsidian-plugin/releases
- Website: https://loopman90.github.io/constella-obsidian-plugin/
- Marketplace kit: MARKETPLACE.md
Constella is read-only and local. It reads vault metadata to render the graph, but it does not modify notes, does not use analytics, and does not send vault data anywhere.
Install From Obsidian
Use this route when Constella is available in the Obsidian Community Plugins browser.
- Open Obsidian.
- Open
Settings. - Go to
Community plugins. - Turn off
Restricted modeif Obsidian asks. - Click
Browse. - Search for
Constella. - Click
Install. - Click
Enable. - Run
Constella: Openfrom the Command Palette.
If the Install or Add to Obsidian button is greyed out, check the latest review status on the plugin page and confirm that the GitHub release tag exactly matches the version in manifest.json.
Manual Install
Use this route if you want to test a release before it appears in the Community Plugins browser.
1. Download the release files
- Go to the Constella releases page: https://github.com/loopman90/constella-obsidian-plugin/releases
- Open the newest release.
- Download exactly these three files:
main.jsmanifest.jsonstyles.css
Do not download the source code zip for manual installation. Obsidian needs the three built plugin files above.
2. Find your vault folder
Your vault is the normal folder where your notes live. Open that folder first, then open or create the hidden .obsidian/plugins folder inside it.
The final plugin folder must be named exactly:
constella
The final result must look like this on every system:
Your Vault/
  .obsidian/
    plugins/
      constella/
        main.js
        manifest.json
        styles.css
3. Mac install steps
- Open Finder.
- Open your Obsidian vault folder.
- Press
Command+Shift+.to show hidden folders. - Open
.obsidian. - Open
plugins. If it does not exist, create it. - Create a folder named
constella. - Copy
main.js,manifest.json, andstyles.cssinto that folder.
Mac example:
/Users/your-name/Documents/My Vault/.obsidian/plugins/constella/
4. Windows install steps
- Open File Explorer.
- Open your Obsidian vault folder.
- Click
View. - Enable
Hidden itemsif.obsidianis not visible. - Open
.obsidian. - Open
plugins. If it does not exist, create it. - Create a folder named
constella. - Copy
main.js,manifest.json, andstyles.cssinto that folder.
Windows example:
C:\Users\your-name\Documents\My Vault\.obsidian\plugins\constella\
5. Linux install steps
- Open your file manager.
- Open your Obsidian vault folder.
- Press
Ctrl+Hto show hidden folders if.obsidianis not visible. - Open
.obsidian. - Open
plugins. If it does not exist, create it. - Create a folder named
constella. - Copy
main.js,manifest.json, andstyles.cssinto that folder.
Linux example:
/home/your-name/Documents/My Vault/.obsidian/plugins/constella/
6. Enable the plugin
- Restart Obsidian, or go to
Settings->Community pluginsand clickReload plugins. - Find
Constellaunder installed plugins. - Enable it.
- Open the Command Palette:
- Mac:
Command+P - Windows/Linux:
Ctrl+P
- Mac:
- Run
Constella: Open.
Manual Install Troubleshooting
If Constella does not appear in Obsidian:
- Make sure the folder is named
constella. - Make sure the folder is inside
.obsidian/plugins/. - Make sure
main.js,manifest.json, andstyles.cssare directly inside theconstellafolder. - Make sure the files are from the same GitHub release.
- Restart Obsidian after copying the files.
- Check
Settings->Community plugins->Installed plugins.
If Constella opens a blank tab:
- Update to the newest release.
- Restart Obsidian.
- Disable and re-enable Constella.
- Confirm your vault contains Markdown files.
- In Constella, use
Show All Notes. - Check whether folder, tag, date, or minimum-link filters are hiding notes.
- Turn on
Include Floating Notesif you want notes without links to appear.
If not all notes are visible:
- Set Graph Scope to
Global. - Set Minimum Links to
0. - Clear Folder Filter and Tag Filter.
- Set Date Filter to
All Notes. - Enable
Include Floating Notes. - Click
Show All Notes.
Development Install
Use this route only if you are editing the source code.
npm install
npm run build
Then copy these files into your vault plugin folder:
main.js
manifest.json
styles.css
For automatic rebuilds while developing:
npm run dev
Opening Constella
You can open Constella in several ways:
- Click the ribbon icon in Obsidian.
- Run
Constella: Openfrom the Command Palette. - Click
Constellain the status bar.
Inside the Constella view:
- Click a node to select it.
- Double-click a node to open the note.
- Hover a node to highlight its direct neighbors.
- Use the Quick Bar to start journeys, switch modes, lock the view, export PNG screenshots, open fullscreen, or open a pop-out display window.
Main Features
- Interactive Canvas knowledge graph.
- Global, Local, and Current Note graph scopes.
- Floating/orphan note support.
- Search and focus note.
- Optional search results list.
- Folder, tag, date, and minimum-link filters.
- Hover neighbor highlighting.
- Pin node, hide node, hide cluster, expand from node, and path preview.
- Auto-travel journey modes.
- Visual styles, color schemes, camera motion, node movement, pulses, particles, and drawing-line animations.
- Optional cluster halos, node icons, density mode, and depth layers.
- Trackpad-friendly zoom, View Lock, viewport preservation on graph refresh, and optional camera pause after manual navigation.
- Mini-map, graph health panel, legends, FPS indicator, and reduce-motion mode.
- Saved visual templates and playlists.
- PNG screenshot export.
- Fullscreen and second-screen pop-out display.
- JSON import/export for templates and playlists.
Control Panel
The Control Panel is organized around workflow:
Quick: common actions.Quick UI: choose which Quick Bar controls are visible, including View Lock and the Drawing Lines toggle.Graph: scope, depth, floating notes, filters, and node interaction.Tools: mini-map, search results, graph health, saved views, and color rules.Discovery: recent, forgotten, hub, orphan, and template filtering.Journey: auto-travel timing and route behavior.Visual: visual style, color scheme, glow, node size, edge thickness, cluster halos, node icons, density mode, and depth layers.Background: background style, intensity, particles, and ambient effects.Motion: camera, movement style, pulses, click effects, and reduce motion.Paths: path animation, pulses, and drawing-line behavior, including 11 selectable drawing-line styles.Presets: templates and playlists.Display: labels, overlays, View Lock, viewport preservation, camera pause after manual navigation, legend, FPS, fullscreen intent, cursor hiding, and visual display toggles.
Keyboard Controls
Inside the Constella view:
Space: start or pause.Arrow Left: previous journey node.Arrow Right: next journey node.Enter: open the selected node.Escape: stop or close the control panel.
Privacy
Constella:
- works locally;
- uses no telemetry;
- uses no analytics;
- uploads no vault data;
- does not automatically modify notes;
- uses no external API.
Constella enumerates Markdown files in the vault because it needs file paths and link metadata to draw the graph. This is expected behavior for a local graph plugin.
Releases
Obsidian expects the GitHub release tag to match the manifest.json version exactly.
Constella follows minor-version discipline for larger changes. Do not overwrite existing releases. Use the next meaningful version, such as 0.6.0, 0.7.0, and eventually 1.0.0.
Correct:
0.6.0
Incorrect:
v0.6.0
Each release must include:
main.js
manifest.json
styles.css
The GitHub Actions workflow builds the plugin, uploads release assets, and creates artifact attestations for release files.
Project Structure
src/
  core/
  graph/
  discovery/
  path/
  templates/
  playlists/
  screensaver/
  display/
  performance/
  settings/
  ui/
docs/
  index.html
  media/
Control Panel Layout
Interactive Graph
Enable or disable Interactive Graph in Settings > Interaction > Graph interaction, or with the hand button in the quick bar. The new interaction is enabled by default. Turning it off restores the previous graph navigation. The same main switch is available in Obsidian's plugin settings.
Click selects without recentering; double-click opens a note. Drag a node to move it, or drag empty space to pan. Dragging starts after five pixels and never opens the note. Connected nodes can follow with adjustable strength; pinned neighbors stay fixed. You can also enable automatic pinning after a drag. Pins retain their coordinates through refreshes in the open window; coordinates are not saved across an Obsidian restart.
Controls include node dragging, connected-node movement, automatic pinning, background panning, scroll/trackpad zoom, double-click opening, and the node context menu. Right-click offers Open, Preview, Focus, Pin/Unpin, and Hide. Camera pause can last during interaction, for a configured number of seconds, or until Play. Camera speed and View Lock remain in the Camera section. Quick UI controls the hand, Back, Forward, and Note Preview buttons separately. Interaction preferences are saved and restored on restart.
The in-graph settings follow this order: Graph, Visual, Background, Animation, Camera, Interaction, Quick UI, and Performance. Graph contains source filters, tools, discovery, and presets. Tools uses separate Search, Health, and Saved Views tabs; their visibility preferences remain available above the tabs.
The quick bar groups navigation, appearance, and actions. The More controls menu contains additional options and automatically includes appearance selectors in narrow windows. Quick UI settings still control which items are available.
Sliders have a numeric value and a reset icon that restores that individual control's default. Controls for disabled effects are hidden until enabled. The bottom status line shows visible notes versus all Markdown notes in the vault, active filters, graph scope, and playback or camera-lock state. Close the settings panel with its close button or Escape. You can hide this line with Graph Status Bar in Visual > Display.
Build Checks
The Quick Bar provides Back, Forward, and Note Preview. History is local to each graph window and restores camera position and zoom; notes removed from the current view are reported rather than silently changing filters. Preview shows up to 16,000 characters of local note text, without loading remote images.
Search settings across sections from the panel's search field. In Graph > Tools, type a note query, use Up/Down to choose a match, and press Enter to select it. Typing alone does not move the camera. The result list can still be disabled. Click the bottom note-count status to inspect filter exclusion counts in order and restore all notes. A loading failure offers Retry; an empty filtered graph also offers Show all notes.
Run npm test for navigation history, filter accounting, 10,000-note coverage,
and graph load recovery. Native integration checks are tracked in
TESTING.md.
Useful commands:
npm run typecheck
npm run version:check
npm run build
See CHANGELOG.md for release notes.
Use MARKETPLACE.md for the final Obsidian plugin page text, privacy explanation, screenshot checklist, and release checklist.
For plugin developers
Search results and similarity scores are powered by semantic analysis of your plugin's README. If your plugin isn't appearing for searches you'd expect, try updating your README to clearly describe your plugin's purpose, features, and use cases.