Image Border Style
approvedby shenoy-anurag
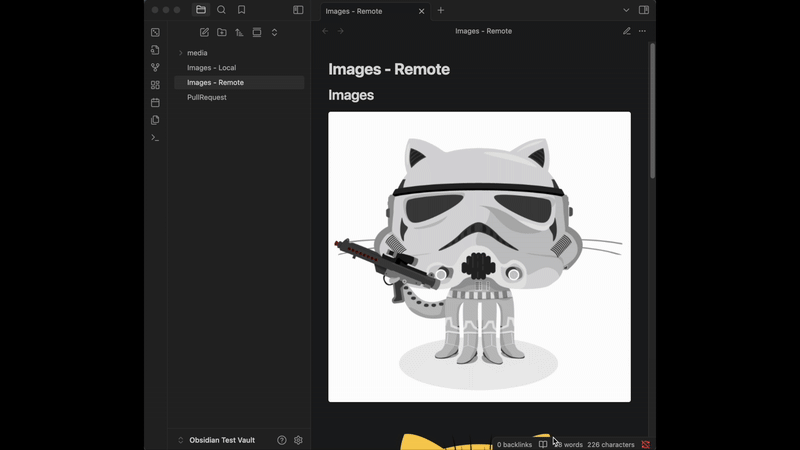
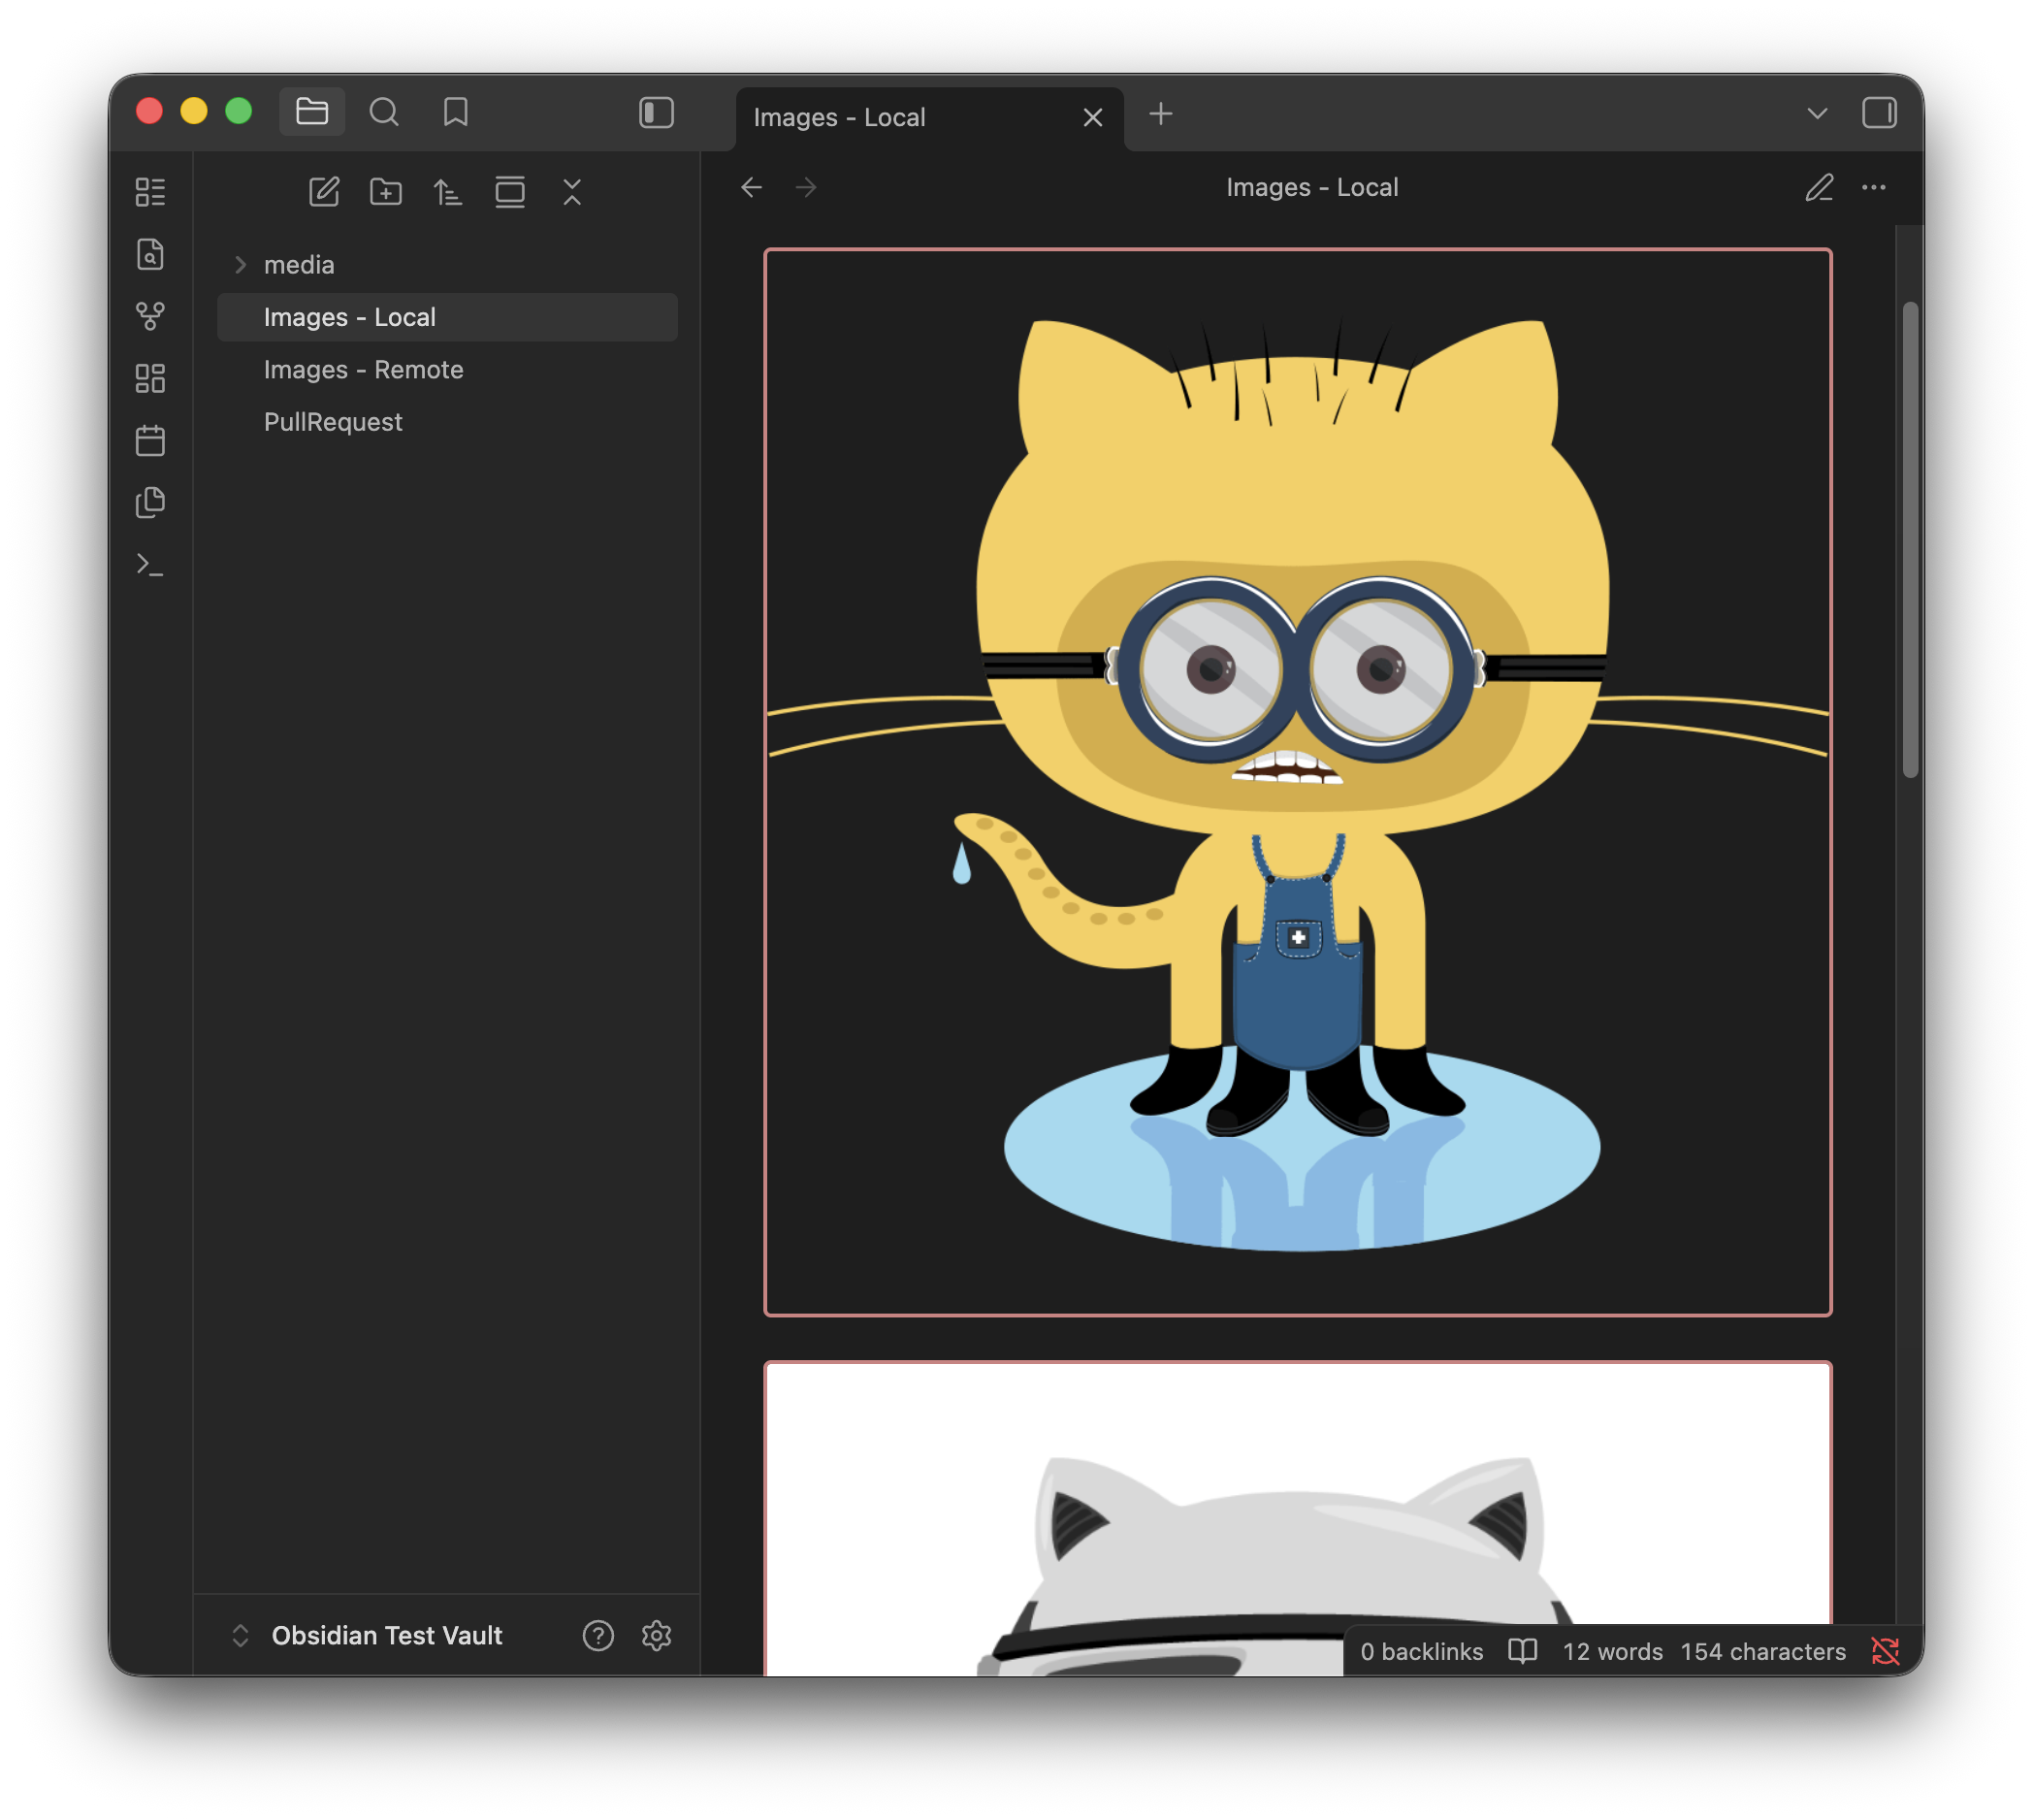
Border styling for images in markdown notes.
Image Border Style (Obsidian Plugin)
With this plugin, you can:
Have nice rounded borders (or not) for images ranging from no-border, to a 2px border all the way to a 32px border radius.
And, tinker with more image border related settings.
Features
- Lightweight, negligible impact on performance.
- Default border radius is same as one in Notion.
- 9 sizes from no-border to 4XL border radius.
- Ability to choose Border Width (6 sizes from 0px to 5px).
- Automatic Theme-Aware Border Color (faint grey for dark mode, and charcoal for light mode).
- Custom Border Color setting.
Note: Setting changes may not reflect until you switch pages. I'm trying to solve this while adhering to Plugin guidelines.
Installing the plugin
Easiest way is to install it from the Obsidian Community Plugin marketplace (currently under review).
Until it's approved by the Obsidian team, the plugin will need to be installed manually.
Manually installing the plugin
- Go the releases section and download
main.js,styles.css,manifest.jsonfrom the latest release. - Copy over
main.js,styles.css,manifest.jsonto your vaultVaultFolder/.obsidian/plugins/image-border-style/.
Development
- Clone the repository:
git clone https://github.com/shenoy-anurag/obsidian-image-border-style.git. - Run
npm installto install dependencies. - Run
npm run buildto build the plugin. - Run
./publish_plugin_local.shto copy the plugin files to your Obsidian Vault's plugin folder. Learn how to do this in the Wiki.
Support me if you like this project!

For plugin developers
Search results and similarity scores are powered by semantic analysis of your plugin's README. If your plugin isn't appearing for searches you'd expect, try updating your README to clearly describe your plugin's purpose, features, and use cases.