GraphPro
pendingby Mark Trifonov
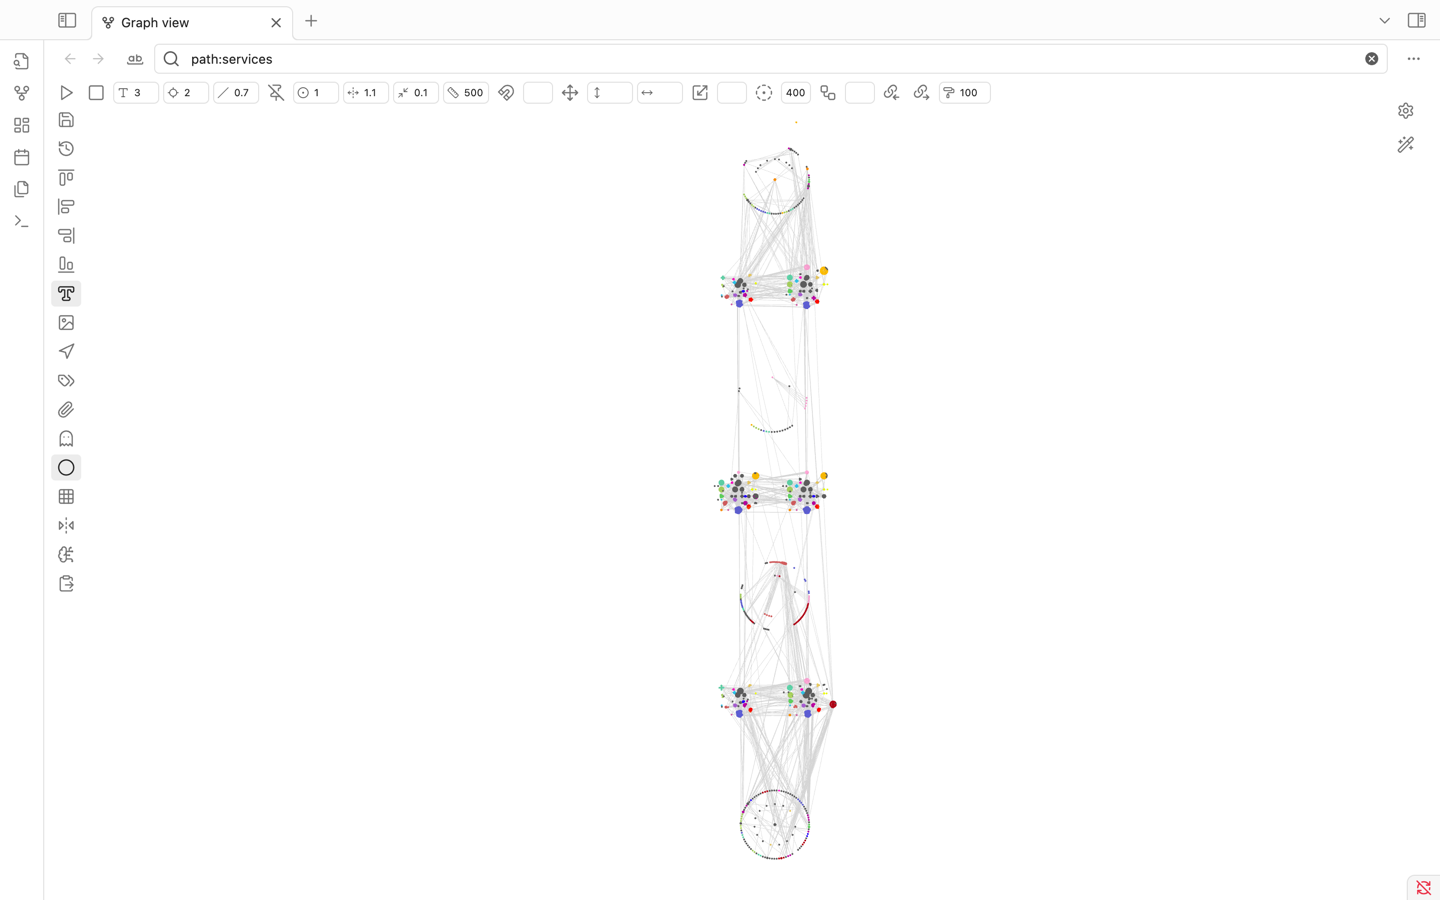
Advanced controls and layout tools for the graph view.
GraphPro for Obsidian
GraphPro supercharges the native Obsidian graph view with a plethora of advanced controls, layout tools, selection enhancements, and position management features. It aims to provide a more powerful and flexible way to interact with and organize your graph.
✨ Features
Layout & Position Management:
- Save & Restore Positions: Save the current node positions and restore them later.
- Position History: Access a history of saved positions via right-click on the "Restore" button.
- Automatic Restore: Option to automatically restore the last active node positions on startup.
- Undo/Redo: In-memory undo (Ctrl/Cmd+Z) and redo (Ctrl/Cmd+Shift+Z) for position changes.
- Align Nodes: Align selected nodes (start, end, vertical, horizontal).
- Move & Scale Selection: Precisely move or scale selected nodes.
- Arrange in Circle: Arrange selected nodes in a circular pattern around the heaviest node or with defined inner/outer circles based on ID substrings.
- Unlock Positions: Unlock the fixed positions of selected nodes.
- Snap to Grid: Option to snap nodes to a configurable grid when dragging.
- Grid Display: Toggle a visual grid in the background.
Selection Tools:
- Area Selection: Select nodes by dragging a rectangle while holding
Shift.- Hold
Alt+Shiftwhile dragging to deselect nodes within the rectangle.
- Hold
- Regex Selection: Switch the search bar to a "node selection mode" to select nodes by a regular expression matching their ID.
- Select Related: Select nodes connected to the current selection, up to a specified depth.
- Select Backlinks/Outgoing Links: Expand selection to include backlinks or outgoing links of currently selected nodes.
- Selection Status Bar: Displays count of selected nodes and statistics about common frontmatter keys (e.g.,
cluster,namespace,service) and, for single selections, backlink/outgoing link counts and property counts with quick access to side panes.
Display & Visuals:
- Neighbor Labels: Display labels of neighboring nodes on hover.
- Customize label content using Regex or a frontmatter field.
- Node Icons: (Experimental) Display custom icons for nodes (requires manual configuration in
iconMap). - Selection Highlighting: Clearly highlights selected nodes.
- Mirrored Core Controls: Direct access and input fields for core graph settings like text fade, node size, link size, forces, etc., directly in the GraphPro toolbars.
- Additional Toggles: Quick toggles for arrows, tags, attachments, unresolved files, orphans.
Simulation & Force Control:
- Run/Stop Simulation: Manually start or stop the graph's force simulation.
- Node Weight: Set the weight for selected nodes, influencing the force simulation.
- Fine-tune Forces: Inputs to adjust center force, repel force, link force, and link distance.
Advanced & External Interaction:
- GPT Prompt Generation: Copy a JSON representation of selected nodes (positions, colors, links, key metadata) and a base prompt to the clipboard for use with AI layout tools like GPT.
- Paste Positions from Clipboard: Update node positions from a JSON object (matching the GPT prompt format) pasted from the clipboard.
UI Enhancements:
- Dedicated Control Panels: Adds a top and a left-hand toolbar directly within the graph view for quick access to all features.
- Integrated Search/Selection: Modifies the graph search bar to toggle between filtering and node selection modes.
🚀 How to Use
Once installed, GraphPro automatically enhances any open graph view. You'll see new control panels:
1. Top Control Bar:
- ▶️ Run simulation: Starts the force-directed layout algorithm.
- ⏹️ Stop simulation: Halts the layout algorithm, freezing nodes.
- T (Type icon): Text fade threshold.
- ◎ (Locate icon): Node size.
- ╱ (Slash icon): Link thickness.
- 📌 (Pin-off icon): Unlock selected nodes' positions, allowing the simulation to move them.
- 🎯 (Circle-dot icon): Center force strength.
- ↔️ (Unfold-horizontal icon): Repel force strength.
- ⇆ (Minimize-2 icon): Link force strength.
- 📏 (Ruler icon): Link distance.
- 🧲 (Magnet icon): Set weight for selected nodes (use adjacent input for value).
- (Input field for weight)
- ➕ (Move icon): Move selected nodes by X/Y offsets (use adjacent inputs).
- ↕️ (Move-vertical icon with input): Vertical move offset.
- ↔️ (Move-horizontal icon with input): Horizontal move offset.
- ↔️ (Scaling icon): Scale selected nodes around their centroid (use adjacent input for ratio).
- (Input field for scale ratio)
- ⭕ (Circle-dot-dashed icon): Arrange selected nodes in a circle (use adjacent input for max radius).
- (Input field for circle radius)
- ☊ (Workflow icon): Select related nodes (use adjacent input for depth).
- (Input field for depth)
- 🔗← (Links-coming-in icon): Select backlinks of selected nodes.
- →🔗 (Links-going-out icon): Select outgoing links of selected nodes.
- 🖌️ (Paint-roller icon with input): Selection highlight stroke width.
2. Left Control Bar:
- 💾 (Save icon): Save current node positions. A new timestamped entry is created.
- ↺ (History icon): Restore positions from the currently selected history entry.
- Right-click: Show a menu with all saved position histories. Select one to load. Also allows toggling "Auto restore on startup."
- ‖← (Align-start-horizontal icon): Align selected nodes to the top-most Y.
- ↑‖ (Align-start-vertical icon): Align selected nodes to the left-most X.
- ↓‖ (Align-end-vertical icon): Align selected nodes to the right-most X.
- ‖→ (Align-end-horizontal icon): Align selected nodes to the bottom-most Y.
- T□ (Type-outline icon): Toggle display of neighbor labels on hover.
- 🖼️ (Image icon): Toggle display of custom node icons (if configured).
- 🧭 (Navigation icon): Toggle display of link arrows (mirrors core setting).
- 🏷️ (Tags icon): Toggle display of tags (mirrors core setting).
- 📎 (Paperclip icon): Toggle display of attachments (mirrors core setting).
- 👻 (Ghost icon): Toggle "Existing files only" (mirrors core setting).
- ⚪ (Circle icon): Toggle display of orphans (mirrors core setting).
- ▦ (Grid icon): Toggle display of the background grid.
- ↔️↕️ (Flip-horizontal-2 icon): Toggle "Snap to grid" for node dragging.
- 🧠 (Brain-circuit icon): Copy GPT prompt and selected nodes' data to clipboard.
- 📋 (Clipboard-paste icon): Update node positions from JSON in clipboard.
3. Search Bar Area (Top of Graph View):
- The standard search bar is enhanced.
- Ab (Whole-word icon): Switch search to "Nodes Selection Mode". The input field will now accept a Regular Expression. Press Enter to select nodes whose IDs match the regex.
- ♀ (Filter icon): Switch search back to standard "Filter Mode".
4. Node Selection:
- Hold
Shiftand drag the mouse to draw a selection rectangle. - Hold
Alt+Shiftand drag to deselect nodes within the rectangle. - Selected nodes will be highlighted. Information about the selection appears in the Obsidian status bar at the bottom.
5. Node Dragging:
- When dragging a node, if other nodes are selected, they will be co-dragged, maintaining their relative positions.
- If "Snap to Grid" is enabled, nodes will snap to the nearest grid intersection upon release.
6. Keyboard Shortcuts:
Ctrl/Cmd + Z: Undo last node position change.Ctrl/Cmd + Shift + Z: Redo last node position change.
7. "Advanced" Section in Core Graph Controls:
- GraphPro adds an "Advanced" section to Obsidian's native graph control panel (usually on the right).
- Label Regex: A regex to extract a display label from the node ID for neighbor labels (e.g.,
(?<label>.*)). - Frontmatter Field: A frontmatter key to use for the node's display label (overrides Label Regex if the field exists and has a value).
⚙️ Settings
GraphPro offers several settings, accessible through the plugin's UI elements and the "Advanced" section in the core graph controls:
showIcons(via Image icon): Toggle visibility of custom node icons.showNeighborLabels(via Type-outline icon): Toggle visibility of labels for neighbors of a hovered node.showGrid(via Grid icon): Toggle visibility of the background grid.snapToGrid(via Flip-horizontal-2 icon): If true, nodes will snap to the grid when dragged.automaticallyRestoreNodePositions(via Restore button context menu): If true, the plugin will attempt to restore node positions from thecurrentPositionsHistoryKeywhen the graph is opened.currentPositionsHistoryKey(managed internally, selected via Restore button context menu): Stores the key/timestamp of the position history to be used for auto-restore or manual restore.labelRegex(Advanced graph controls): A JavaScript regular expression with a named capture grouplabel(e.g.,^(?:nodes\/)?(?<label>[^\/]+?)(?:\.md)?$) to extract a cleaner label from the node ID for neighbor labels.frontmatterField(Advanced graph controls): The name of a frontmatter field (e.g.,title,alias) to use for neighbor labels. If a node has this field, its value will be used as the label; otherwise,labelRegexwill be attempted.selectionWidth(Top bar input): The thickness of the highlight stroke around selected nodes.maxArrangeCircleRadius(Top bar input): The maximum radius used when arranging selected nodes in a circle.searchSelectionMode(managed internally, toggled via search bar icons): Determines if the graph search input is used for filtering or regex-based node selection.
Position history is saved as JSON files in .obsidian/plugins/graph-pro/position-history/.
Plugin settings are saved in .obsidian/plugins/graph-pro/data.json.
💾 Installation
- Ensure you have Obsidian installed.
- Install BRAT (Beta Reviewers Auto-update Tester) from the Community Plugins section in Obsidian.
- Open the command palette (Ctrl/Cmd+P) and run "BRAT: Add a beta plugin".
- Paste the URL of this repository
https://github.com/Air-Mark/graph-prointo the dialog. - Enable "GraphPro" in the "Community Plugins" tab in Obsidian's settings.
(Alternatively, for manual installation:)
- Download the
main.js,manifest.json, and (if any)styles.cssfrom the latest release. - Create a new folder named
graph-proinside your Obsidian vault's.obsidian/plugins/folder. - Copy the downloaded files into the
graph-profolder. - Go to Settings -> Community Plugins in Obsidian and enable "GraphPro".
⚠️ Known Issues / Limitations
- The
iconMapfor custom node icons is currently hardcoded and empty in the provided source. To use custom icons, this map would need to be populated manually in the code or a UI for managing it would be needed.
🤝 Contributing
Contributions, issues, and feature requests are welcome! Please feel free to check the issues page.
This README provides a comprehensive overview. Let me know if you'd like any section expanded or clarified!
For plugin developers
Search results and similarity scores are powered by semantic analysis of your plugin's README. If your plugin isn't appearing for searches you'd expect, try updating your README to clearly describe your plugin's purpose, features, and use cases.