Tinted Blocks
pendingby bigfat
Highlight blocks with color. Inspired by Notion and Craft.
Tinted Blocks 🎨
Add a splash of color to your Obsidian notes. Highlight blocks of text elegantly, just like in Notion or Craft, but with more power.
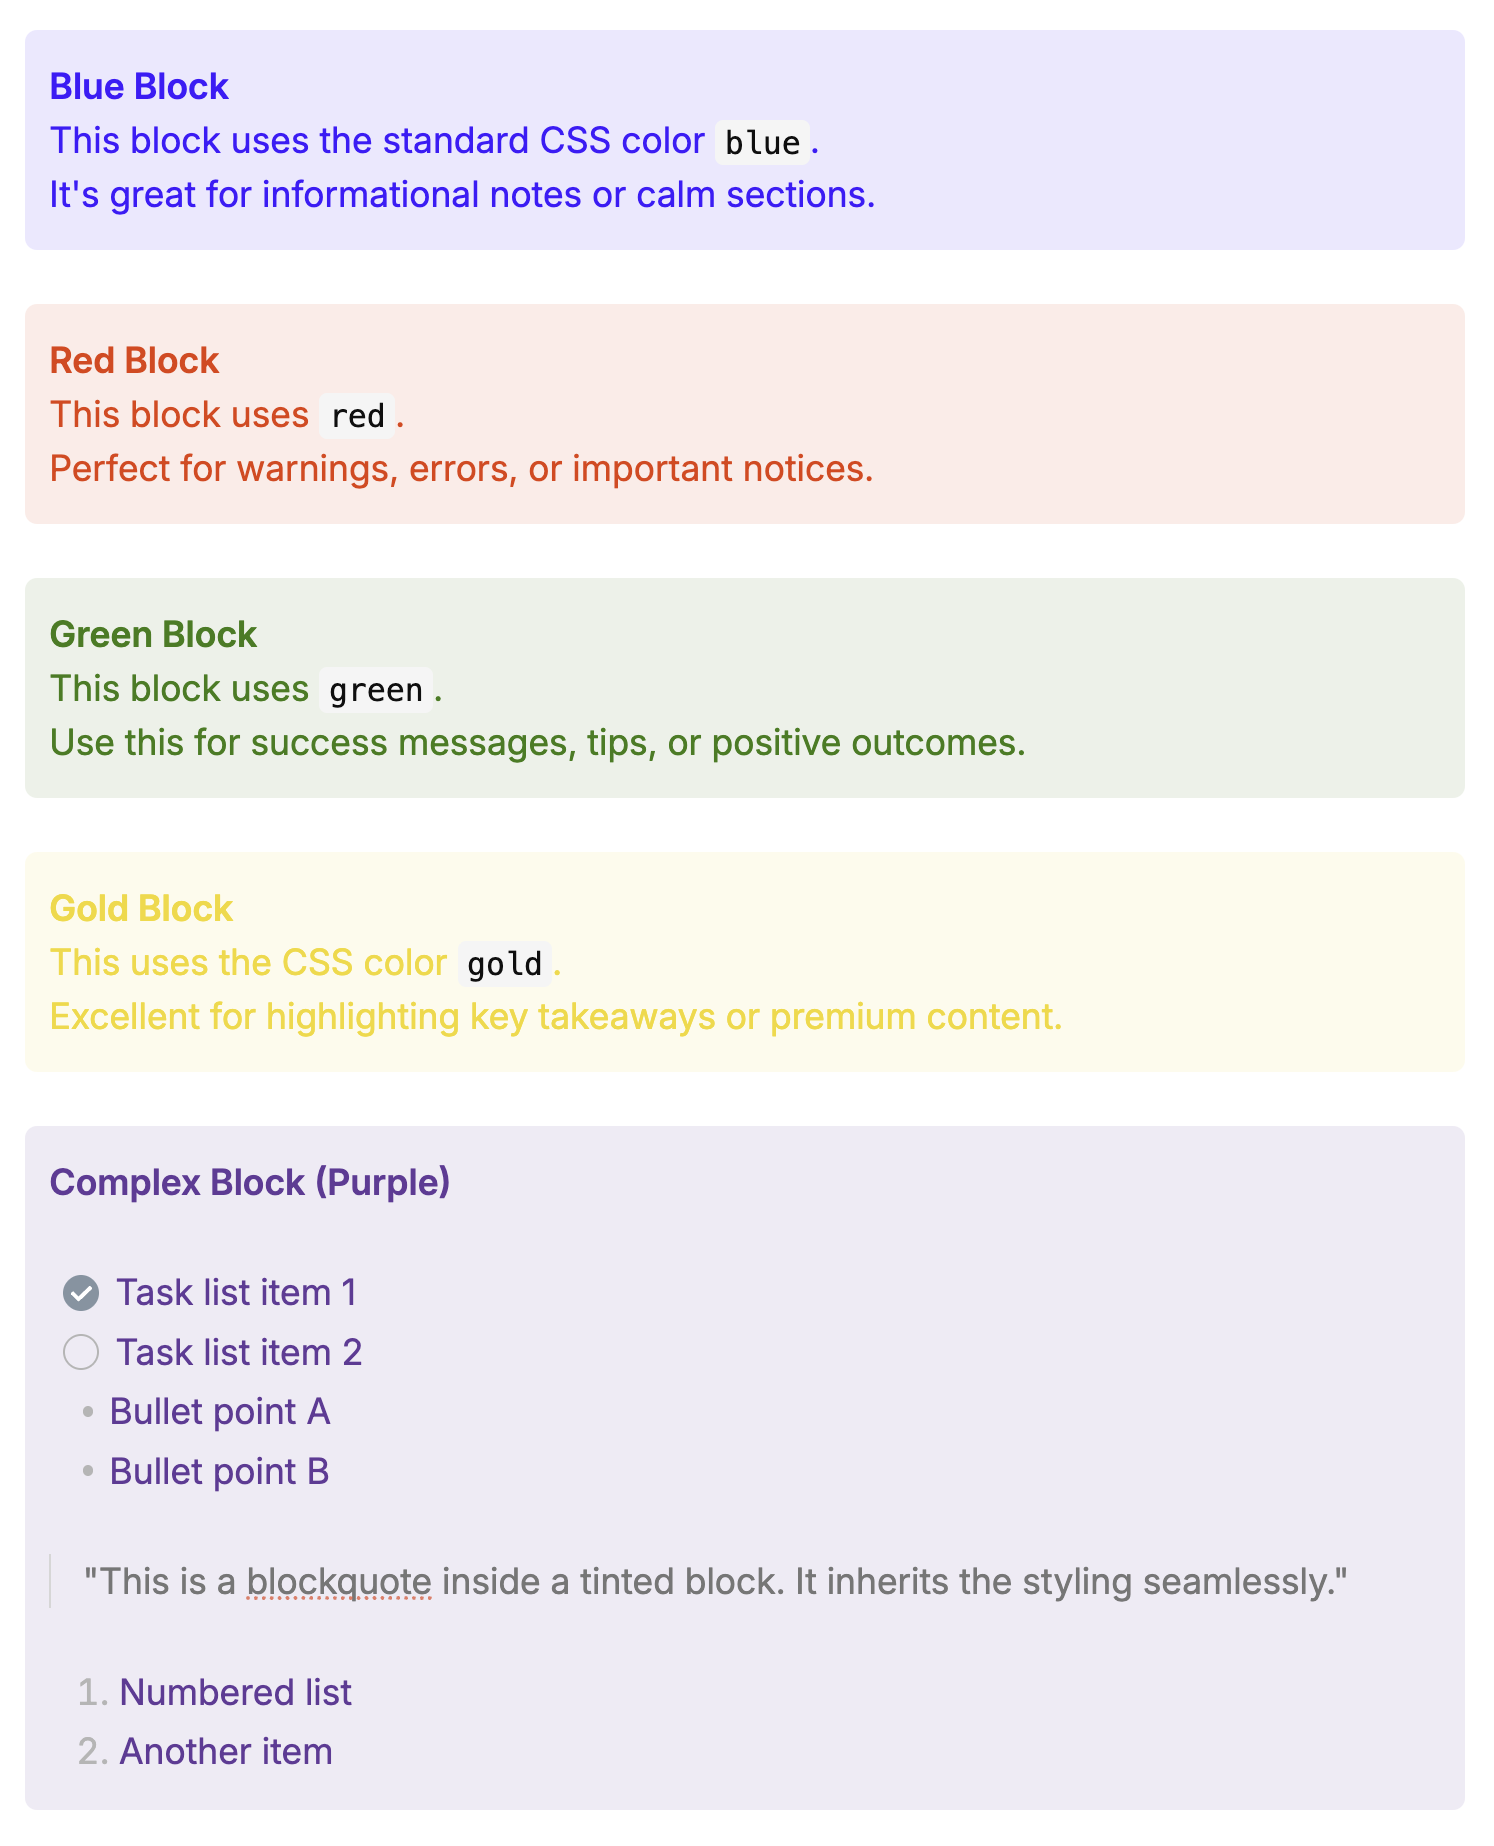
Tinted Blocks allows you to wrap any content—paragraphs, lists, blockquotes—in a beautiful, colored container. It supports both Live Preview and Reading View, ensuring your notes look stunning in any mode.
✨ Features
- Dynamic Block Coloring: Use any valid CSS color name (
blue,red,gold) or hex code (#ff00aa). - Inline Highlighting: Highlight text with color markers (Red, Green, Blue, Yellow, Cyan, Magenta).
- Table Cell Tinting: Add background colors to individual table cells using simple markers.
- Clean Reading View: All markers are completely removed in Reading View for a polished look.
- Rich Content Support: Works perfectly with bullet lists, numbered lists, and blockquotes inside the colored block.
- Native Integration: Use the Command Palette, Right-Click Menu, or customize Hotkeys.
🚀 How to Use
1. Block Tinting
Wrap entire paragraphs or sections in a colored block.
Syntax
Type the start marker followed immediately by a color, write your content, and close with the end marker.
/--blue
This is a blue block.
It supports **Markdown** formatting.
--/
Strict Syntax Rules:
- No Space: You must type the color immediately after the marker (e.g.,
/--red, NOT/-- red). - Valid CSS Colors: Use standard CSS colors or hex codes.
- Fallback: If you omit the color (
/--) or use an invalid one, the block will use your Default Block Color setting.
The "Mouse" Way
- Select text.
- Right-click and choose Tint block.
- Or assign a custom hotkey in Settings -> Hotkeys. For example, you can use
Cmd/Ctrl + Shift + 'to match the behavior in Craft.
2. Inline Highlighting
Highlight specific parts of a line, like using a highlighter pen.
Syntax
Surround your text with double colons ::. You can specify a color code (r, g, b, y, c, m) followed by a colon.
- Default (Yellow):
::text::→ - Red:
::r:text::→ - Green:
::g:text::→ - Blue:
::b:text::→ - Yellow:
::y:text::→ - Cyan:
::c:text::→ - Magenta:
::m:text::→
The "Mouse" Way
- Select text.
- Right-click and choose Highlight text. (Defaults to yellow).
- Or assign a custom hotkey in Settings -> Hotkeys. For example, you can use
Cmd/Ctrl + Shift + Bto match the behavior in Craft.
3. Table Cell Tinting (Alpha)
Add background colors to specific cells in a table.
Syntax
Add a color marker at the beginning of the cell content.
| Header 1 | Header 2 |
| :r: Red Cell | :g: Green Cell |
| Normal Cell | :b: Blue Cell |
Supported markers: :r: (Red), :g: (Green), :b: (Blue), :y: (Yellow), :c: (Cyan), :m: (Magenta), :a: (Gray/Default).
⚙️ Customization
Go to Settings -> Tinted Blocks to configure:
- Block Start Marker: Default is
/--. - Block End Marker: Default is
--/. - Default Block Color: Choose the color used when no specific color is provided (defaults to
#555555). - Inline Marker: Default is
::.
🛠️ Development
This plugin was built with TypeScript and uses the Obsidian API.
Prerequisite
- Node.js (v18+)
- npm
Setup
- Clone the repository.
- Run
npm installto install dependencies. - Run
npm run devto start compilation in watch mode.
Building
Run npm run build to create a production build (main.js, styles.css, manifest.json).
Made with ❤️ for the Obsidian Community.
For plugin developers
Search results and similarity scores are powered by semantic analysis of your plugin's README. If your plugin isn't appearing for searches you'd expect, try updating your README to clearly describe your plugin's purpose, features, and use cases.